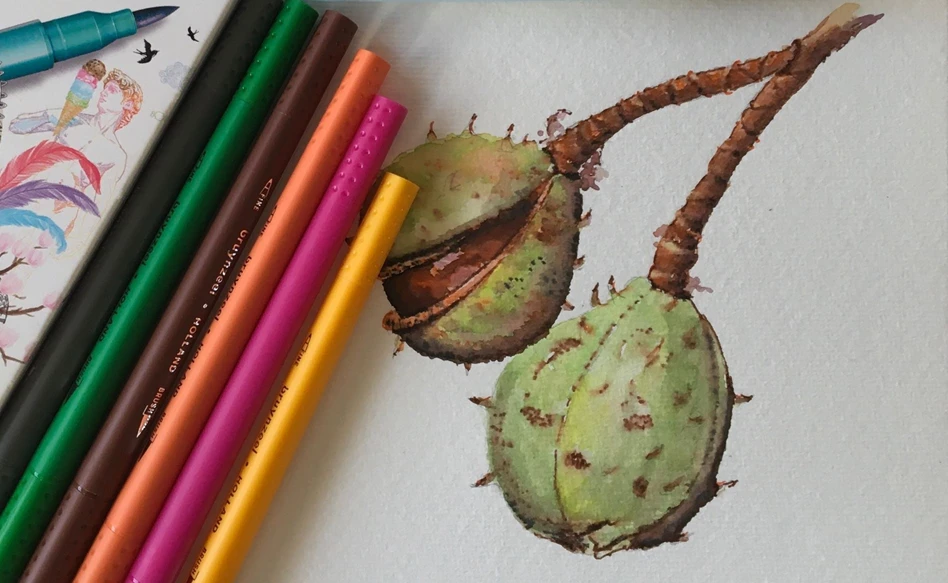
Chestnut
Autumn brings a lot of colors and therefore inspiration. Nature gives you new insights to develop your creativity. Take a look around which plant or flower you would like to draw.
In this step-by-step plan we draw a chestnut with fineliner / brush pens, watercolor brush and pencil. A botanical drawing in which we show specific characteristics of the plant or flower. As realistic as possible.
What you need
- Bruynzeel Fineliner Brush pens set 12 colours. You can also use colours from another set, of course!
- Bruynzeel HB pencil and eraser
- Tear-off palette or plastic sleeve containing a white A4 sheet
- Good sturdy paper, e.g. Van Gogh water colour paper 300 grams
- Watercolour brush
- Kitchen roll
- Pots of water for mixing and to clean the watercolour paintbrush during and after use
Tips
- Read through all the steps before you start
- Leave to dry thoroughly before applying the next layer
- After use, clean your water colour paintbrush thoroughly so that it remains usable for longer
Step 1
Make a rough sketch. Use a Bruynzeel HB pencil for this. Sketch lightly with a Bruynzeel HB pencil. Erase any excess graphite, as pencil stripes remain visible under the light colours.

Step 2-3
Draw over the lines with fineliners of the correct colour and fill in the larger sections with the brush side. Erase any remaining pencil marks.
Paint stripes with the water colour paintbrush on the tear-off palette/sleeve. Try to make some nice blends with the brush. Also look at the mixing chart for matching colours. Test these on the edge of your paper, on the back or on a piece of waste paper. This will give you an idea of what the colour and the water do together on the paper.

Step 4
When switching between the fineliner and the brush pen, be sure to allow sufficient drying time in between. Carefully apply some water to your drawing using the water colour paintbrush. Do this stroke by stroke and enjoy the water colour effect that is created. If necessary, you can apply some more original colour directly from the pens or blends from your tear-off pallet/sleeve. Allow each piece to dry thoroughly before applying the next layer. Play with colour, add water and dab with kitchen paper every now and then.

Step 5
Use the fineliners to add the finishing details. Leave to dry thoroughly, frame behind glass with passe-partout.
And we're done! We hope you enjoyed it! Have fun and good luck!

Other step-by-step ideas

Drawing a turtle with Ecoline Duotip
Step-by-step plan

Drawing a Japanese beetle
Step-by-step plan

