Gelly Roll Moonlight in white, blue and fluorescent orange
Step 1
Everything you draw is made up of basic shapes (squares, rectangles, triangles, circles, ellipses). Start by drawing the kingfisher’s basic shapes based on your reference photo. Make sure your proportions are correct. Using these shapes makes your drawing a lot less complicated and easier to build.
TIP: Make sure to use thin lines so you can erase them later.
Step 2
Refine the shapes. Look closely at your reference photo to see where the lines start and where they end. Apply a little more pressure to your pencil to make the shapes stand out more. You can erase extra lines where necessary.
Step 3
If starting with dark coloured brush pens sounds a little too intimidating, start by applying the lighter colours to your drawing. Siona used a light blue and light orange to set up the first colours.
Look at the reference picture to see where the light naturally hits. These parts barely require any colour. You can even leave some highlighted parts blank so you can still see the white of the paper.
Step 4
Start working on the darker coloured areas of your drawing. Select two shades of blue and two shades of orange. Using different shades of the same colour adds a nice depth to your drawing. Apply strokes of colour in the same direction to create a feather-like texture. Do you still see some of the lighter colours of the first layer? No problem, this adds even more depth to your drawing!
Step 5
Create the shadows using multiple grey shades. Build the shadows by once again starting with the lighter shades and working your way up to the darkest shades.
Black is a difficult colour, but you’ll see that it adds a lot of light to your drawing once you start using it. To add the darker colours, use the fineliner side of the fineliner/brush pens.
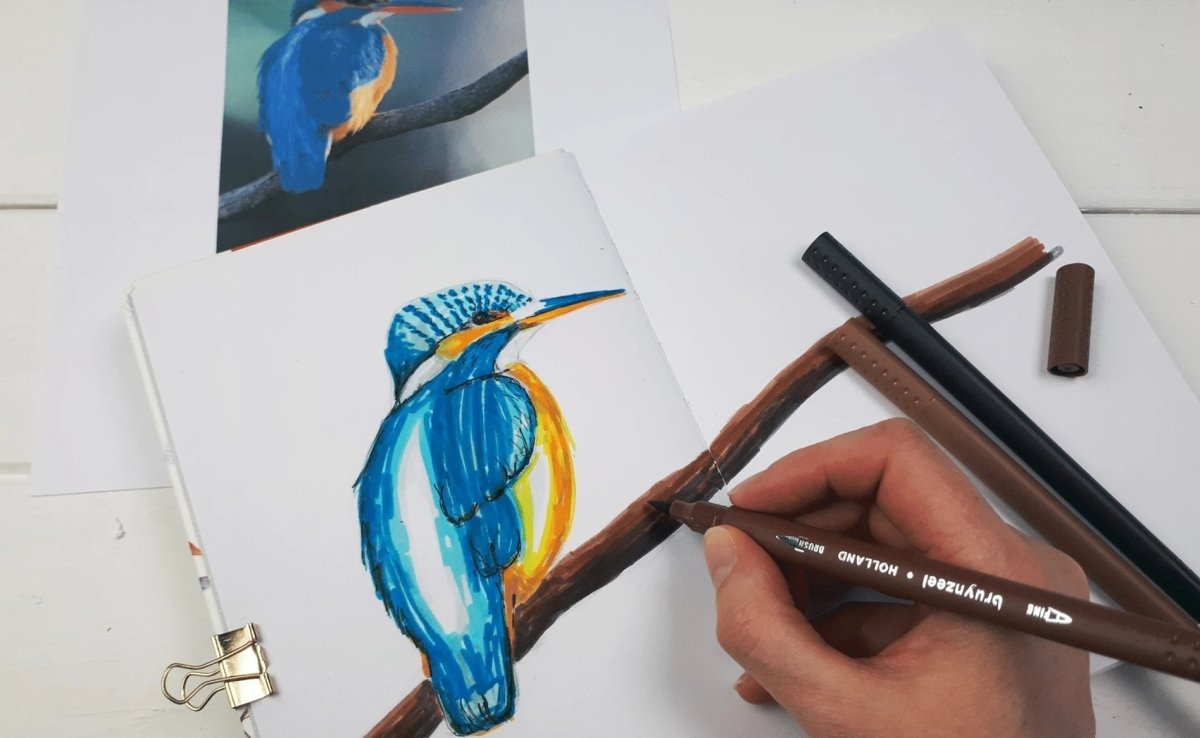
Fill in the branch in the same way using brown shades.
Step 6
For the final finishing touches, use the Gelly Roll Moonlight pens to add even more details, like the highlight in the eye of the bird. Gelly Roll pens are very opaque, which makes them ideal to use on top of other colours. You can also use them to hide any imperfections, if necessary.
By adding quick, sketch-like lines, your drawing will become more dynamic and playful. You can also choose to create a more graphic look by using straight lines. Try out both styles and see which one you like best.
This step-by-step plan was created by our colleague over at the Royal Talens Experience Centre. Have fun trying this out yourself! If you do, let us know by sharing your end result using #RoyalTalens!