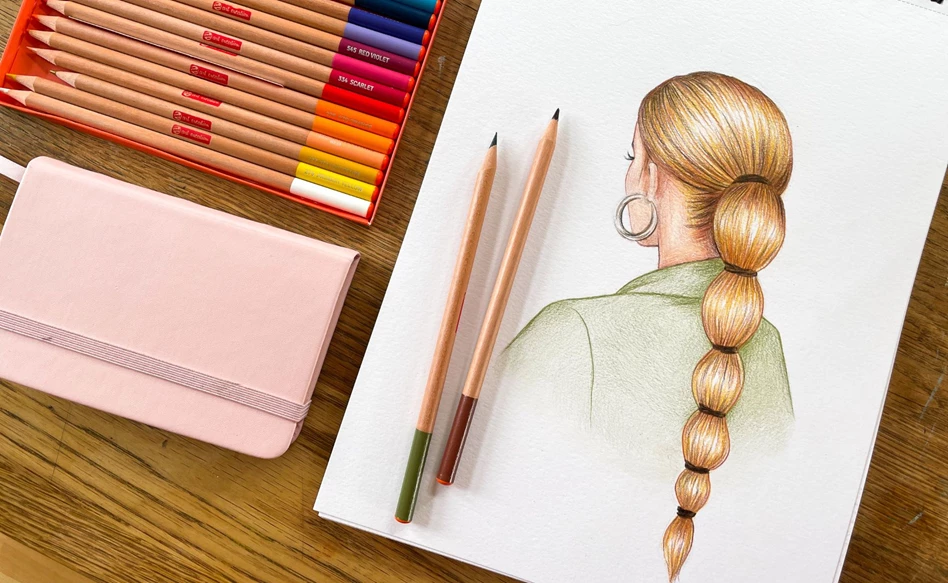
Drawing blond hair with colour pencils
Get started with Talens Art Creation colour pencils and learn to draw blonde hair in this step-by-step plan by Lieve Merlijn van Eijden. The step-by-step plan includes handy tips on building up colours and working in multiple layers. Let's get started!
All you need:
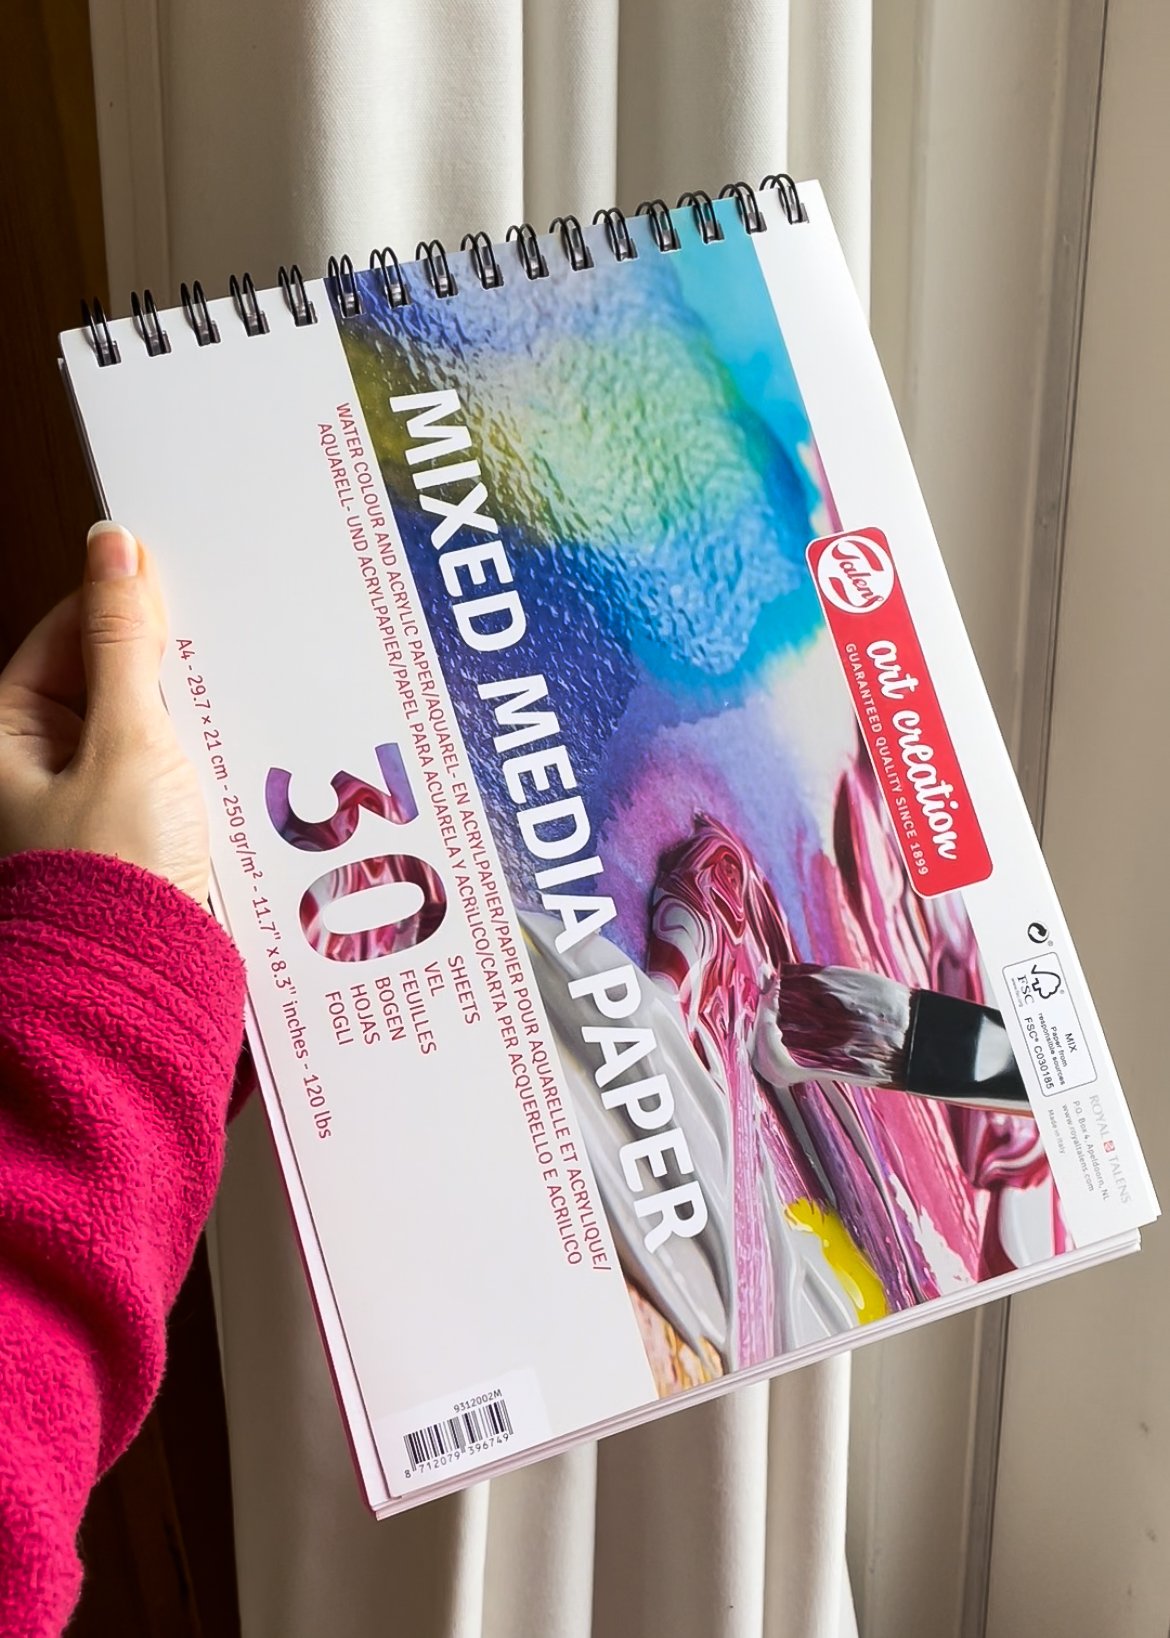
- Talens Art Creation, Mixed Media Paper
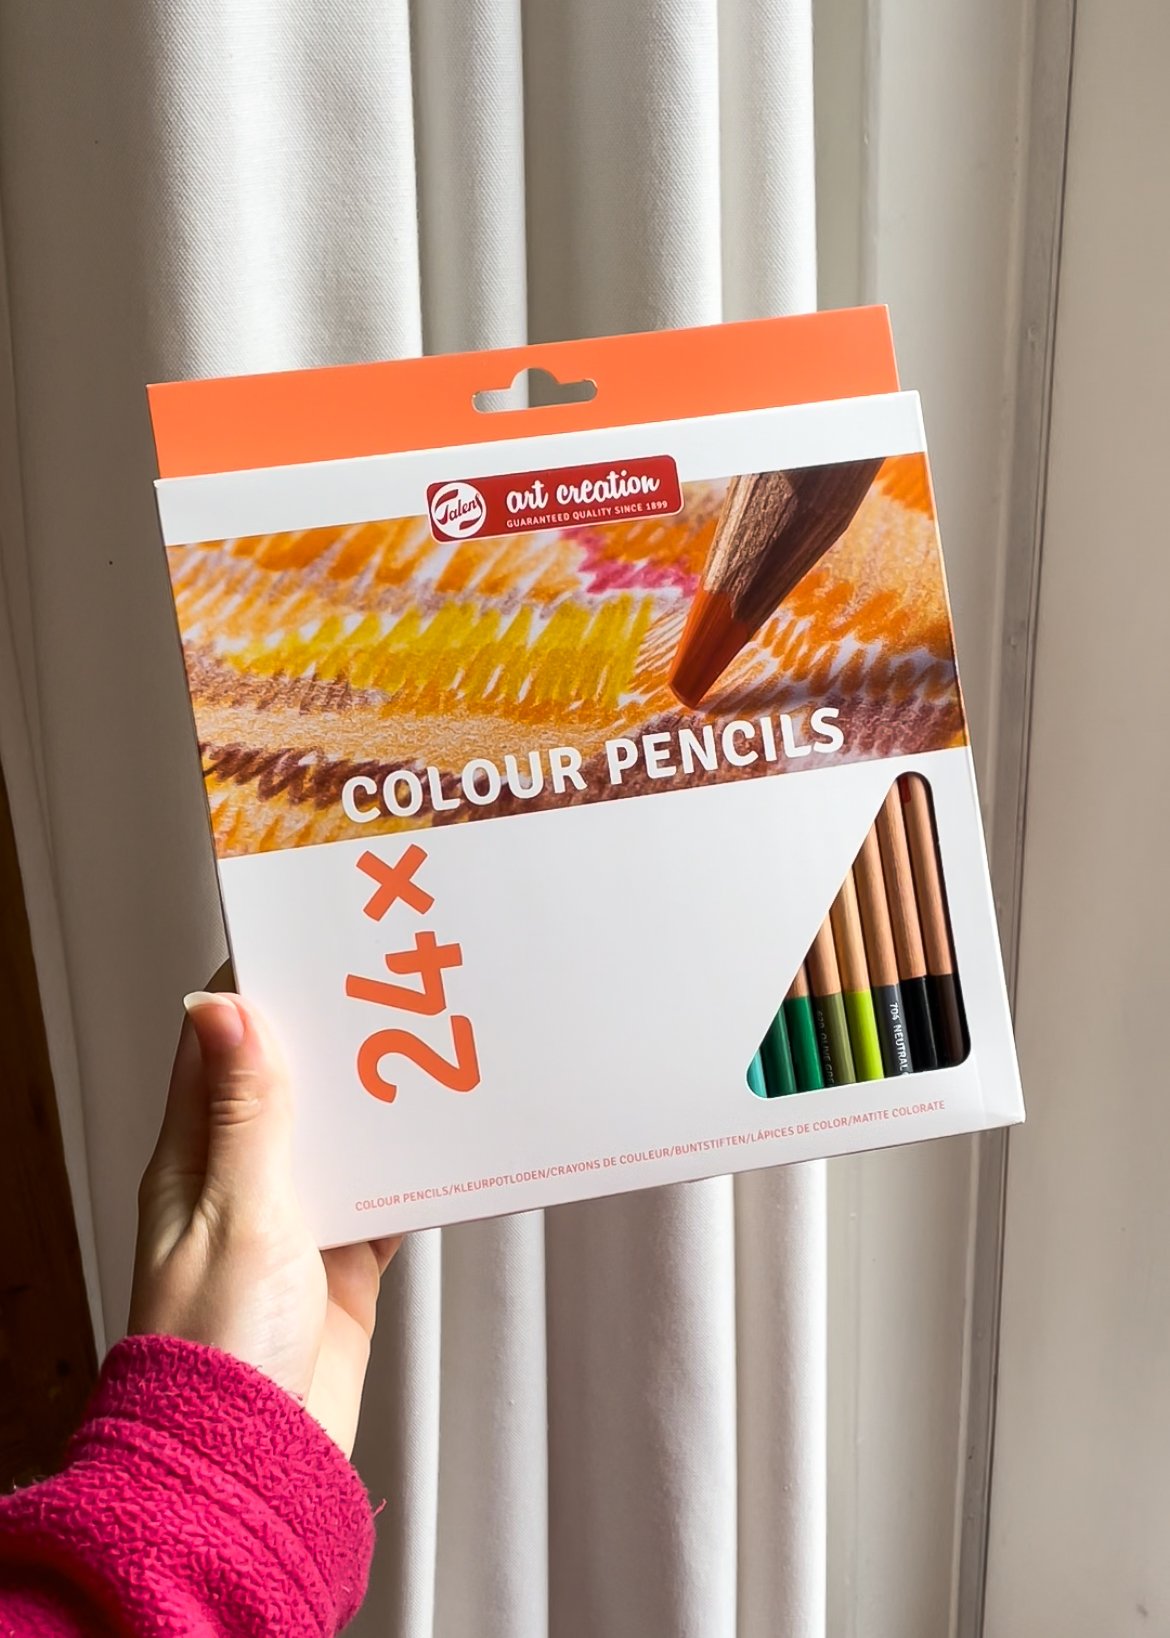
- Talens Art Creation, Colour pencils
(Possibly a sharpener and an eraser)
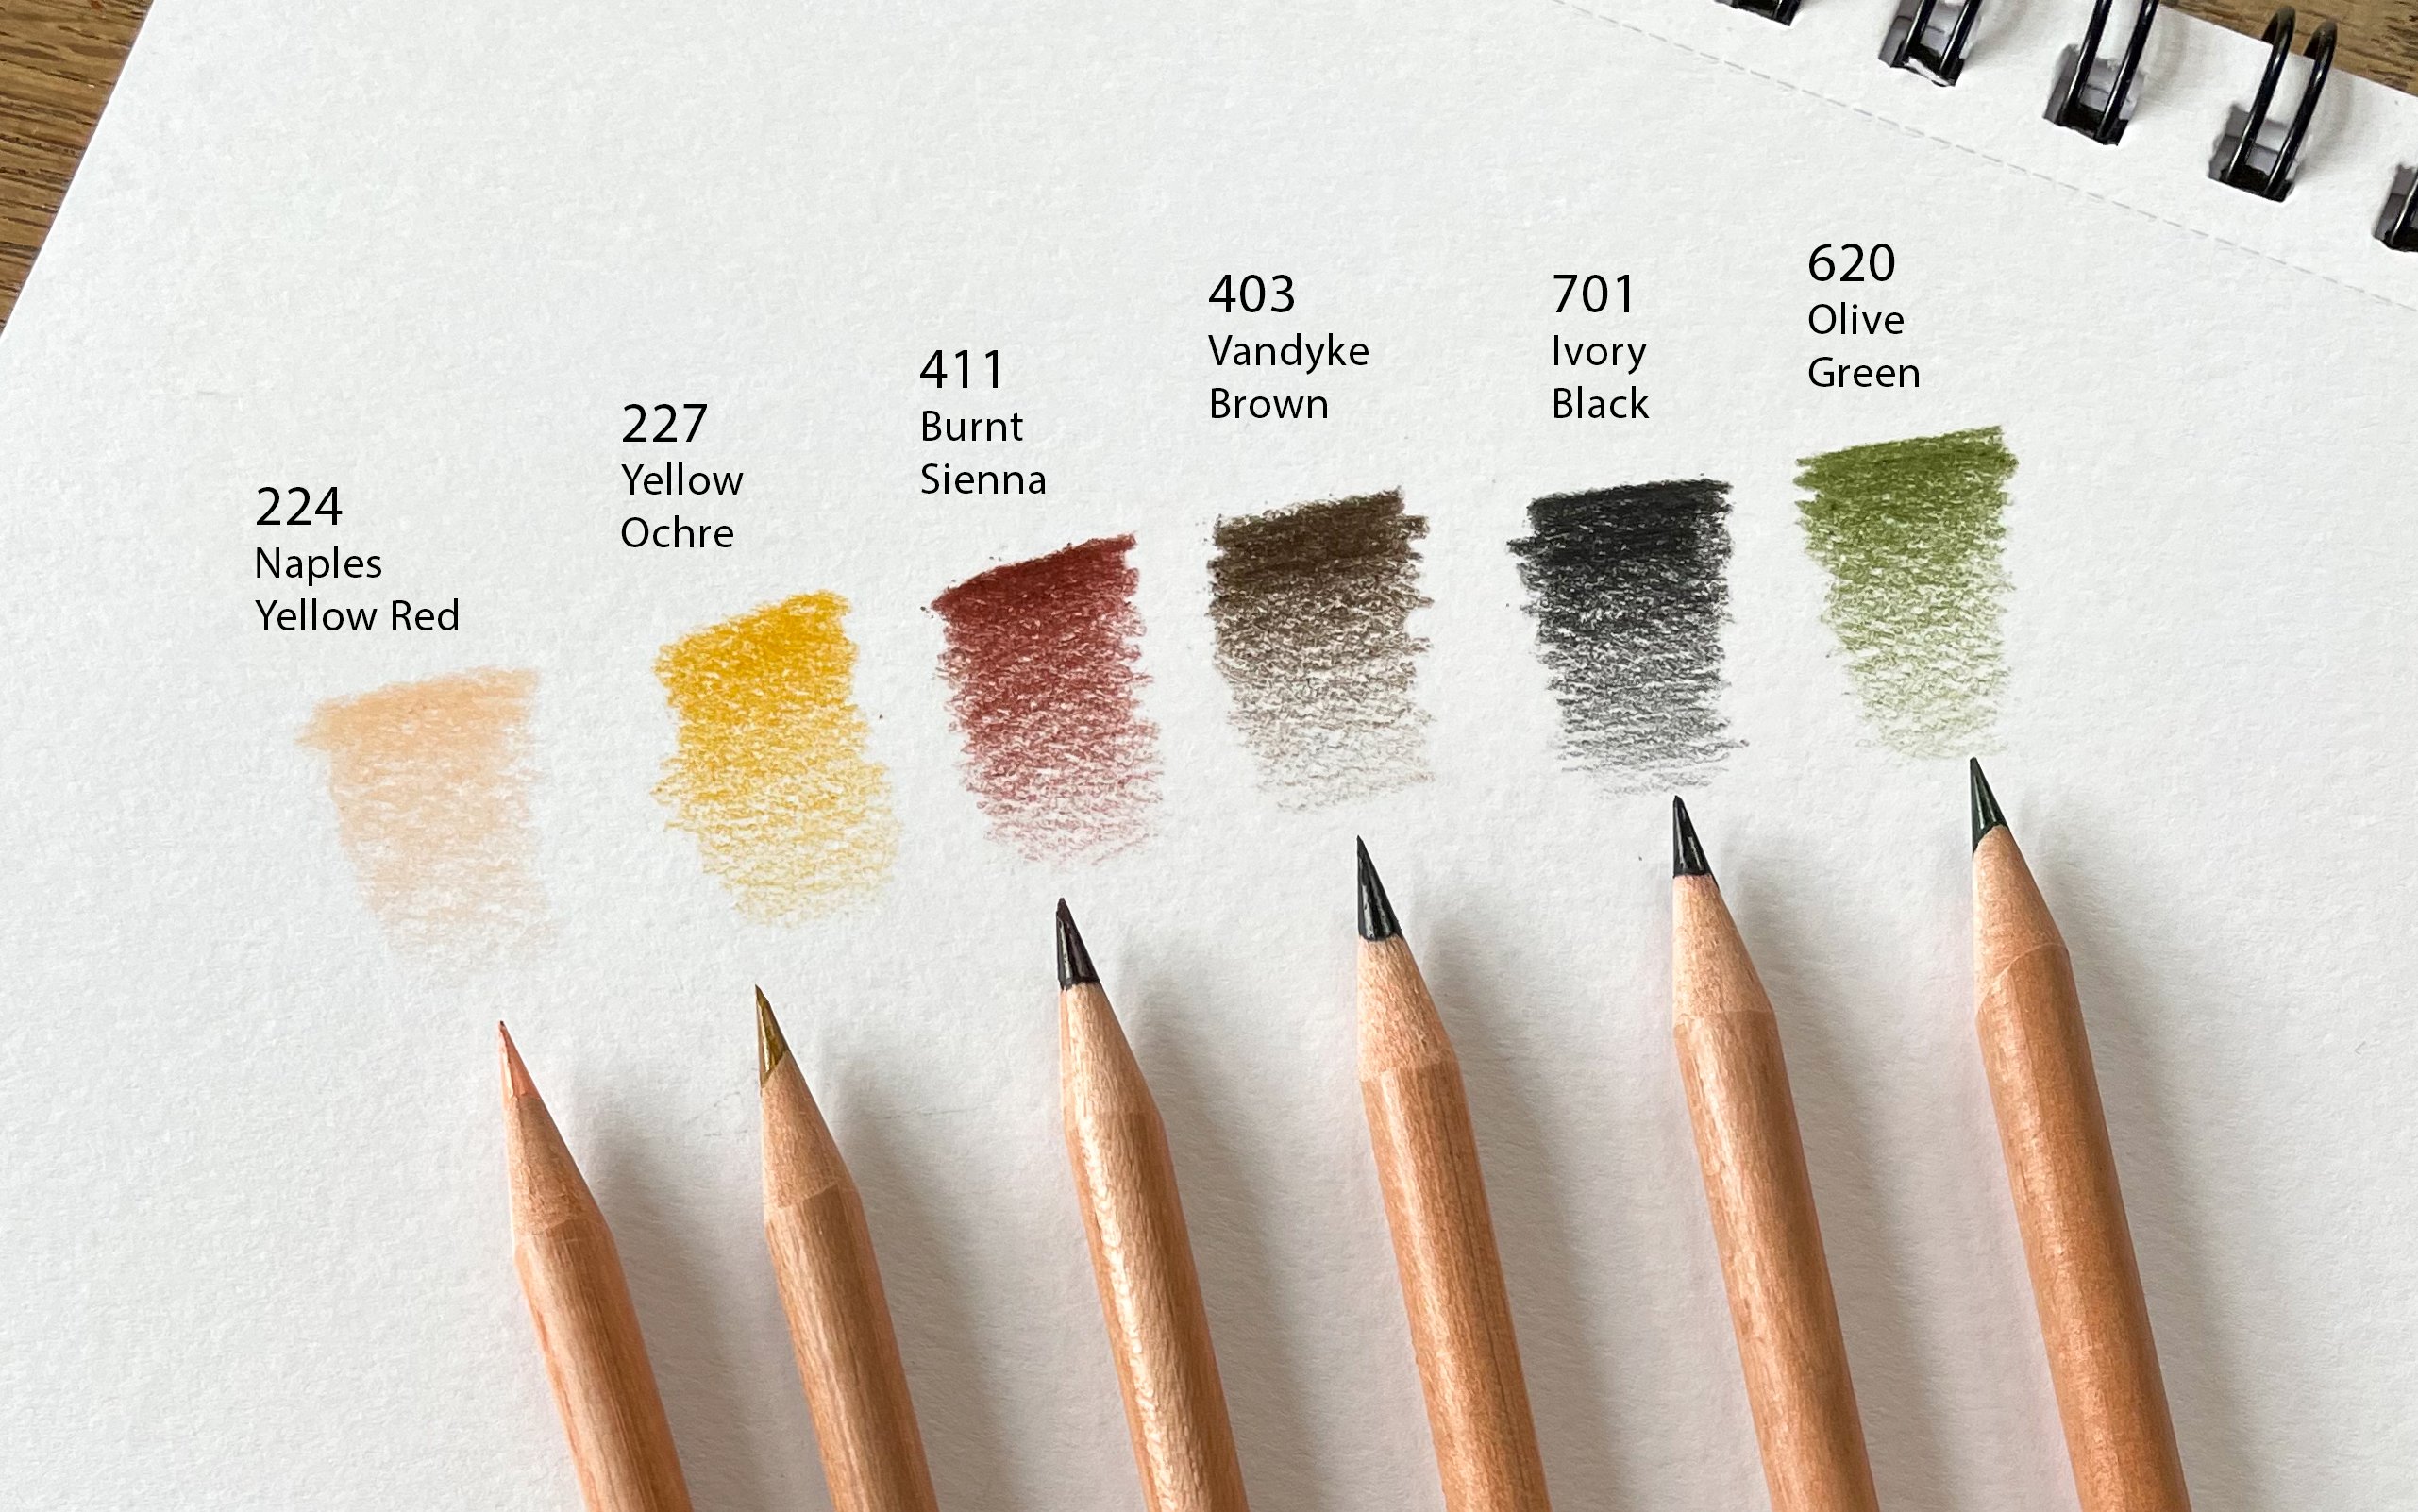
Use these pencil colours for the drawing
Before you get started...
Before you start drawing, practise this simple technique, on a different paper: Draw an oval-like shape what looks like a lock of hair. Fill this shape, with the colour 227 Yellow Ochre. Do this by drawing lines from the top (and bottom) point of the hair strand, to the middle of the strand. The closer you get to the centre: the less hard you have to press the pencil on the paper. This gives you a nice, subtle transition and a shiny effect in the middle of the hair strand.
Another tip:
Make sure the tip of your pencil is sharpened sharp, for extra control over the lines you draw.

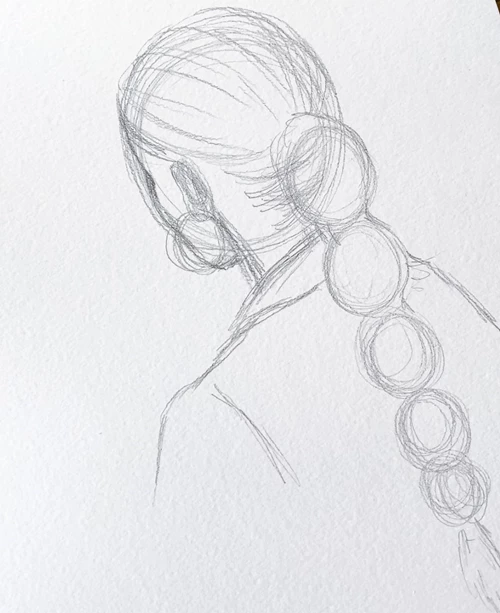
Step 1
Start by making a sketch. Use a soft sketch pencil for this. Don't make the sketch too dark, or erase part of it, before starting step two.
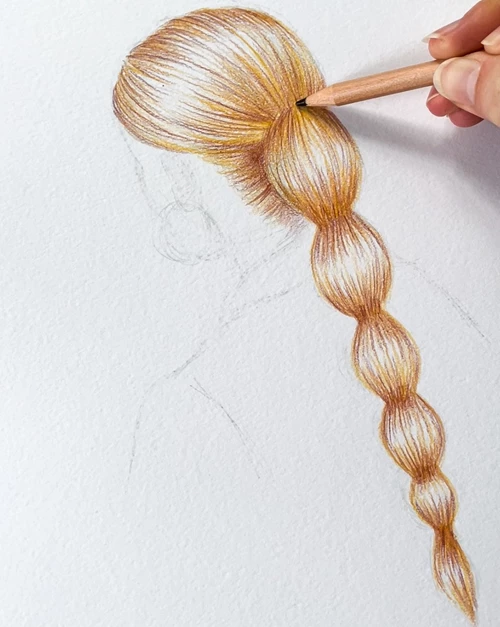
Step 2
Adding colour; use the pencil, coloured 227 Yellow Ochre, to add the first layer of hair. Use the technique we practised earlier and fill each convex shape separately this way.

Step 3
Repeat this technique with a second layer. Go over it again, in the same way, using a darker pencil with the colour 411 Burnt Sienna. You will already see more depth and contrast to be created.
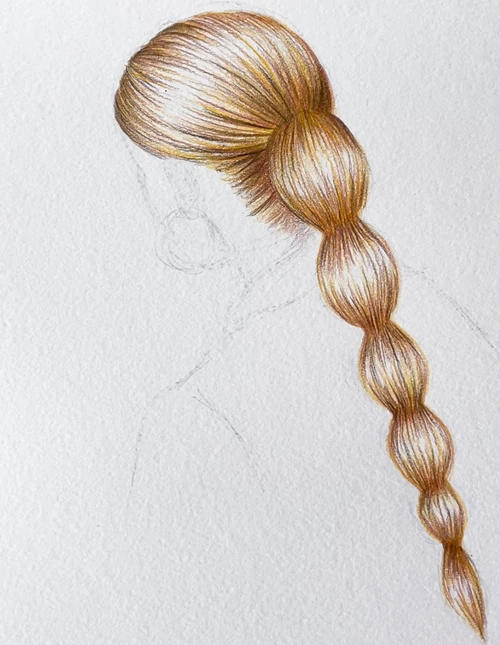
Step 4
Now repeat the technique for a third time with another darker pencil: 403 Vandyke Brown.
Step 5
Use colour 224 Naples Yellow Red to add colour to the skin. And add
shade with colour 411 Burnt Sienna, at the ear, chin and neck.

Step 6
Using colour 701 Ivory Black, add details such as the eyelashes, earrings and rubber bands in the hair. Make sure the tip of the pencil is well sharpened, especially while drawing small details like the eyelashes.

Step 7
Go over the hair one more time with the yellow colour we also started with, the colour 227 Yellow Ochre. This will give the hair just a little more colour.

Step 8
For this last step, add colour to the jacket. You do this by gently going over the paper with colour 620 Olive Green. And the contour lines of the jacket by pressing slightly harder on the paper with the same colour. the paper. For this too, it is good to have a sharpened tip have.

The drawing is finished!
Congratulations, you can now draw blonde hair! The technique you have learned
you can apply to other hair colours and styles yourself. Hopefully this helpful and inspired you to make more hair drawings! hair drawings!
Created for Talens Art Creation, by Lieve Merlijn. Follow @lievemerlijn on Instagram and Tiktok

Other step-by-step ideas

Drawing a turtle with Ecoline Duotip
Step-by-step plan

Drawing a Japanese beetle
Step-by-step plan

