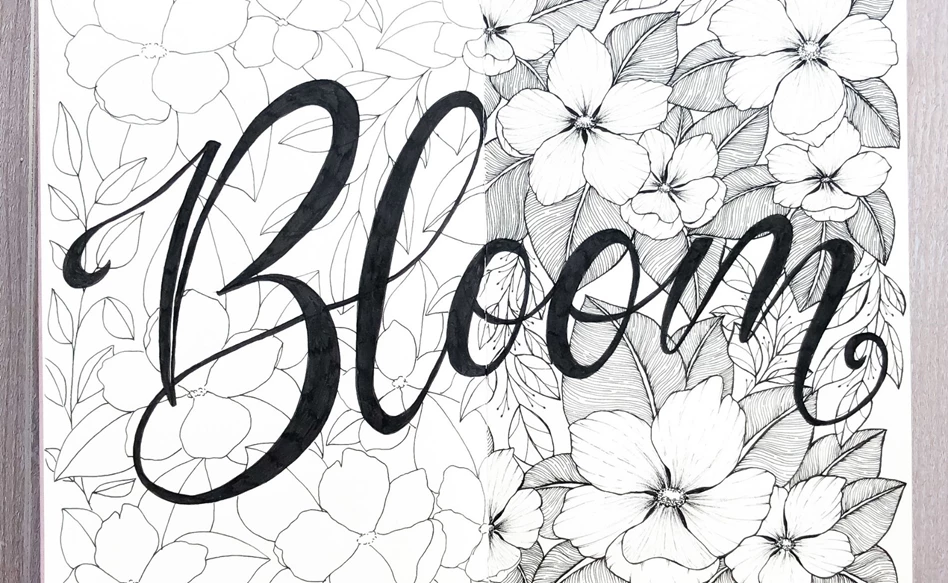
Bloom
Bloom! Sometimes I like to go back to my origins and add text to my flower illustratons. Let’s play with different sizes of Pigma Micron to create a beautiful double-page spread artwork in your sketchbook.
What you need
- Pigma Micron fineliner Black 005 (0.2 mm)
- Pigma Micron fineliner Black 01 (0.25 mm)
- Pigma Micron fineliner Black 08 (0.5 mm)
- Graphite pencil (HB)
- Eraser
- Sakura Sketchbook
Tips
- To symbolize the process of blooming, I decided to only shade the second half of the drawing but, of course, it’s beautiful completely shaded as well.
- Read through all the steps before you start.
Step 1
The most import thing when starting with a double page spread in your sketchbook is thinking about space and composition. Always do this part in pencil so that you can adjust things as much as you like. Start with the lettering, placing it roughly in the centre of the pages and, once itʼs done, fill the negative space left with a rough sketch of where your flowers will be. Remember to draw circles of different sizes to create movement and interest in the composition.

Step 2
Fill in the circles with flowers with pencil. Then add the big leaves attached to the flowers. If there’s some more space left, add other botanical elements like branches or different kind of leaves to fill in. Remember to leave some black space, it will help with contrast in the inking stage.

Step 3
Start the inking. Fill in the letters (using a bigger nib like the 08 to make the process faster) and outline the flowers and leaves with the 01 nib (or the bigger one if you like a bolder effect).

Step 4
Complete the inking process and erase all the pencil lines.

Step 5
With a smaller nib (005) add the shading and details which will bring your drawing to life. To shade the leaves simply fill them with thin lines, curving them to show dimension and movement. To shade the flowers use quick, jerking motions of the pen, remembering to always point every shading line towards the center of the flower. To get a scratchier look, use the pen at a 45° angle.
Made for @royaltalens.eu by @bicreativelab artist

Other step-by-step ideas

Drawing a turtle with Ecoline Duotip
Step-by-step plan

Drawing a Japanese beetle
Step-by-step plan

