Kodama tree
Japanese folklore states that there are many spirits inhabiting the world around us. These spirits can resemble anything from animals to inanimate objects and even human beings. Kodama are spirits that inhabit trees. Trees a spirit supposedly resides in should be respected as you might become cursed if you attempt to cut it down.
The Japanese tradition of coexisting with all of nature’s spirits inspired us for today’s artwork. Though the spirits depicted in this illustration are not necessarily those that Japanese folklore describes, we thought it would be fun to imagine what kinds of spirits would live in trees by making them appear with water colours!
Step 1
Start by sketching a tree with the mechanical pencil. This sketch does not have to be too accurate. Since the tree has spirits living in it, you can imagine it would be quite old, so draw a tree that is a bit bent and twisted by time to make it more interesting than just a straight tree. Contour the tree using the Pigma Micron 12 in black for thick lines.

Step 2
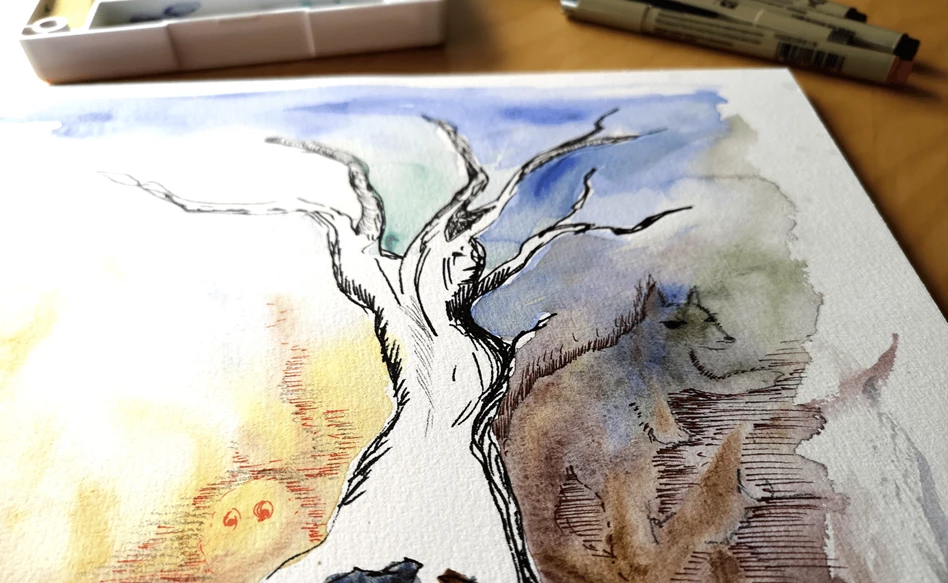
Let the ink completely dry before moving on to your water colours. Once the Pigma ink is dry, it is completely waterproof. We will be working with the wet-on-wet technique, so use the Water Brush that is included in the Koi water colour box to add water around the tree. Use different water colours to sketch some lines and dots in the background to form flowers or other plants and trees.
We used three different water colours for the background and let them blend together on the wet paper. A forest tends to be darker at the bottom, so make the colours denser the more you move down. One side of the drawing is darker than the other for more variation.

Step 3
Wait until the paper is completely dry. Now take a good look at your painting: are there any shapes appearing in the water colour? Maybe some shapes that remind you of spirits? Let your imagination run free and select some of the shapes to make into spirits.

Step 4
Have you found your spirits? They can take any shape you can find in your water colour. On the right of the painting, we saw the head of an animal and another round shape on the left. These will be the spirits of the tree. Upon closer inspection, the tree seems to have a face. This was not planned, but let’s go with the flow and accentuate it using the Pigma Micron 12!

Step 5
Accentuate your spirits with any of the materials you used for the drawing: water colour, pencil and the fineliners in different colours. Anything to make your spirits more apparent.

Step 6
Now that the background is done, you can decide whether you want your tree to be a darker colour or leave it as it is. We decided to add more definition to the tree using green water colour and additional round lines with the Pigma Micron 05 for fine lines. This makes the contrast between the tree and the background less powerful and gives the spirits more room in the illustration.
We hope you enjoyed this step-by-step plan! If you try to make your own Kodama tree, let us know by sharing it using #RoyalTalens!

Other step-by-step plans with watercolours

Easy Christmas illustrations
By Trine Holmvard and Gitte Klausen

Heda's still life in Van Gogh water colours
Step-by-step plan
Sumo wrestler
Step-by-step plan
Loosely painted flowers
Step-by-step plan