DIY festive table textiles
Create your own table cloth and napkins these holidays with the Talens Art Creation Textile decoration set!
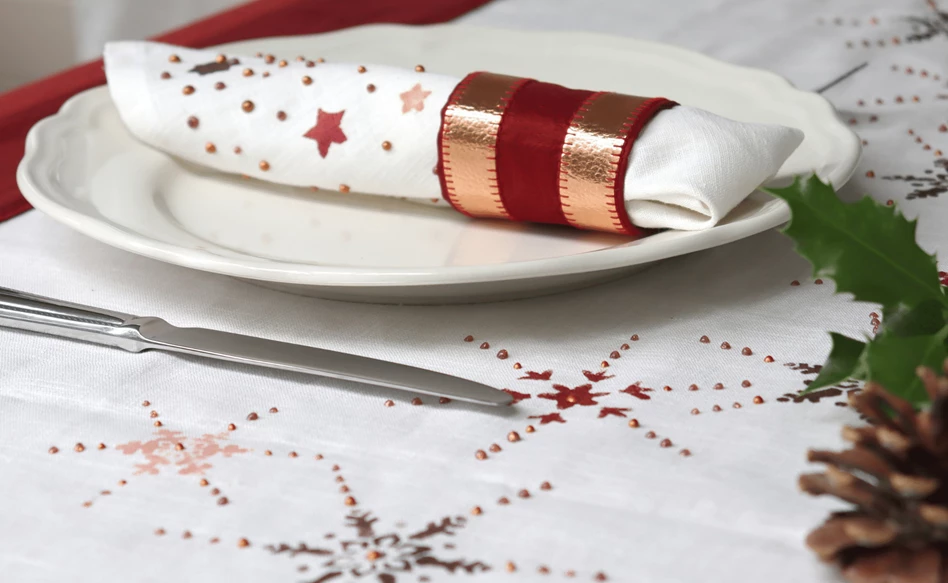
In this easy step-by-step plan, Marloes from StudioZACHT (@studiozacht on Instagram) shows you how to apply some cute designs to a white table cloth and napkins to create a beautiful winter-themed table setting these coming holidays!
What you need
- Talens Art Creation Textile decoration set
- Fabric table cloth, napkins or other table textiles
Tip
- For the best results, pre-wash the fabric item without fabric softener and let it dry completely before painting it.

Step 1
Shake the paint before use. Take the snowflake stencil that is included in the set and the colour of the textile paint you want to use. Lay the stencil on top of the fabric, add paint to one of the sponge sticks also included in the set and stamp away! Try out different colours and patterns to create a dynamic effect. Let the paint dry for 30 minutes.

Step 2
Once the paint has dried, fix the paint using an iron (on cotton setting) with protective paper (such as parchment paper) between the fabric and the iron.
After heat setting, the item will be washable up to 104 °F/40 °C and suitable for the dryer.

Step 3
Now you can add little 3D details to your design using the Effect Liner. Let the effect liner dry completely. You don’t have to fixate the effect liner.

Your table cloth and napkins are now ready to be used! Enjoy your new custom design! We hope you’ve enjoyed this tutorial and you try it out yourself. If you do, don’t forget to share your results using #RoyalTalens!
This step-by-step plan was created for Royal Talens by Marloes Hoppenbrouwers-Mijnster from StudioZACHT (@studiozacht on Instagram). Check out her page for more textile inspiration!

Get inspired with more textile ideas

DIY Halloween trick or treat bag
Step-by-step plan
DIY festive pillowcase
Step-by-step plan
DIY festive table textiles
Step-by-step plan
