Lino stamp
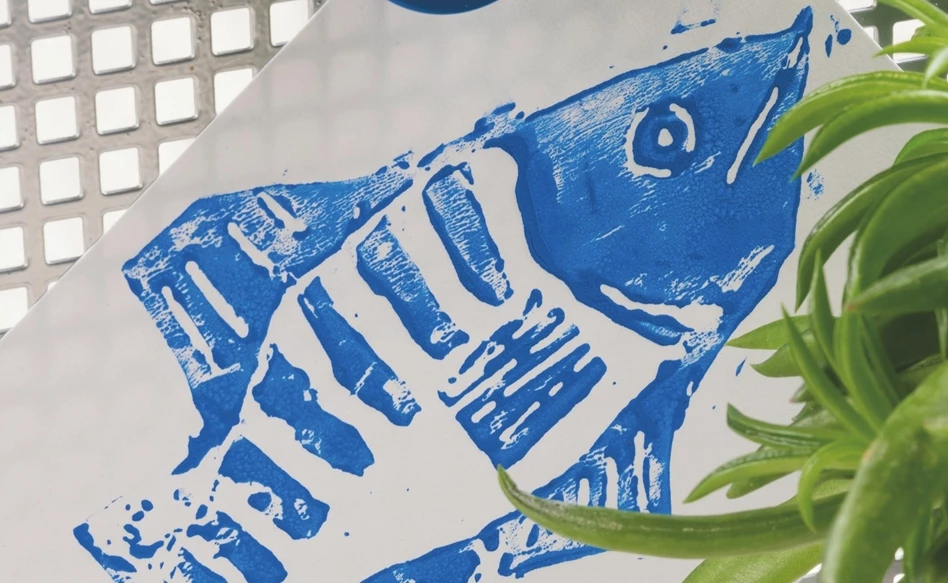
In this step-by-step tutorial we’re showing you all you need to know for creating your own lino art! In our example, we’re cutting out the shape of fish and using a beautiful blue shade of our Lino Colour, but any shape or drawing is possible. Learn your way with the Lino cutter, try out one of the 11 different shades and have fun with it!
All you need
- Talens Art Creation Lino Colour
- Linoleum sheet
- Lino cutter
- Brayer
- Paper (any colour, but not too textured)
Tips
- Clean your lino cut with warm water af terwards, so you can use it multiple times
Step 1
Draw a motif on the lino sheet. Note that prints will come out mirrored. I.e. letter should also be drawn mirrored to create a correct text.

Step 2
Carefully cut out the drawing. Only cut away the negative space. All parts cut out, will not be printed. So for an outline drawing, everything but the lines should be cut out.

Step 3
Put some paint on i.e. a glass plate of palette. Roll the brayer through the paint, and roll of the excess paint. Roll the paint on the lino cut.

Step 4
Put a piece of paper, for your final artwork on top of the painted lino cut. Roll it flat with your hand or a simple tool like a rolling pin or bottle. Then gently peel it off, starting at one end.

Other Deco & Craft ideas


5 DIY Mother's Day Gifts
Step-by-step plan
DIY holiday sign
Step-by-step plan
DIY wintery flowerpots
Step-by-step plan