In this step-by-step plan, Merel Jansen, technical advisor at Royal Talens, shows us how to recreate Van Gogh’s Small Pear Tree in Blossom using Van Gogh soft pastels (how fittingly), Bruynzeel Design coloured pencils and Rembrandt pastel paper. She uses a fixative spray for pastels in between layers and to fix the final piece.
Talens concentrated fixative spray can for pastels
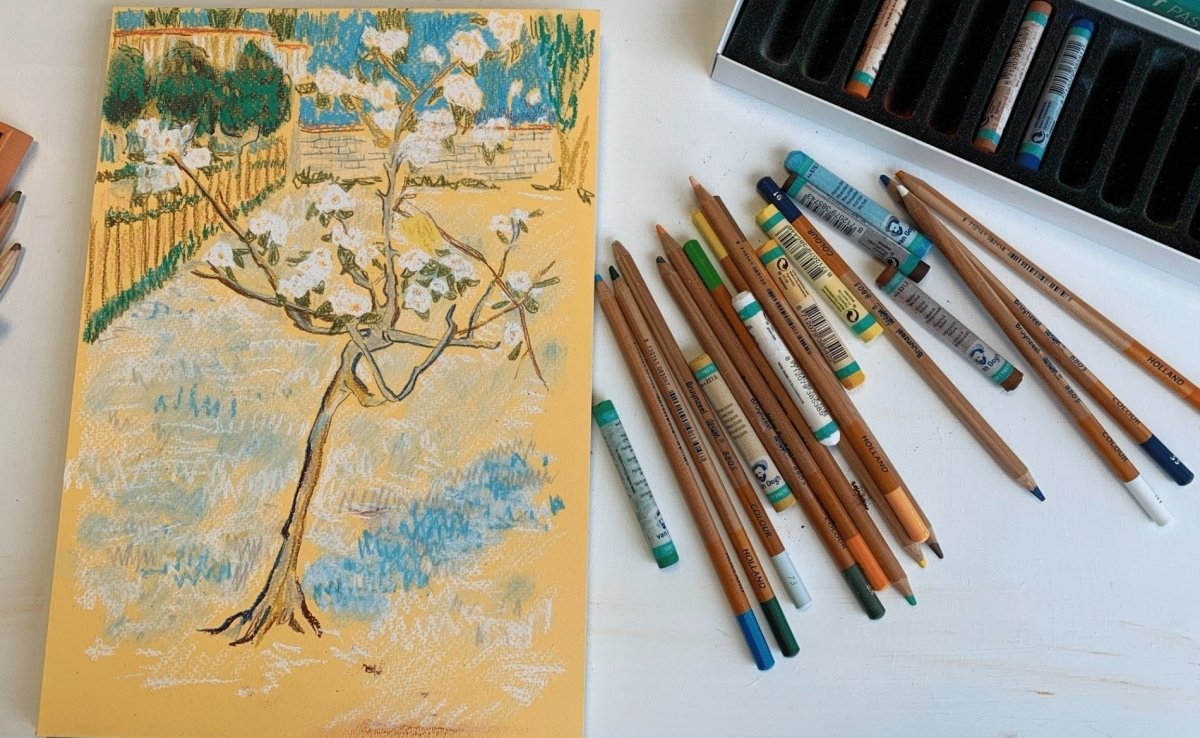
Step 1
Start sketching the shape of the tree onto the pastel paper using the coloured pencils. I used a soft yellow coloured pastel paper since this instantly adds a bit of warmth to your drawing. White backgrounds are actually very unnatural, nothing in nature has a stark-white background. Make sure to choose your paper wisely!
Step 2
The backgrounds of Van Gogh’s paintings often look a little ‘dirty’. This may have happened over time, but it is still an interesting aspect of the paintings.
If you take a soft pastel and scrape the top slightly with your nail and then smudge the particles that fall off, you can easily recreate that dirtiness in your own background. Do this using different colours to fill in your background while still leaving some of the paper to shine through.
Don’t forget to spray this first layer with your fixative spray before you start working on the second layer!
Step 3
Now you can use the soft pastels to recreate the brush strokes Van Gogh used in his works. Because the pastels are highly pigmented, the colours are just as intense as in the original. Add details to the background in short strokes and smudge it out with your finger for a blended effect.
Use the fixative spray once you have completed a layer.
Step 4
Work slowly in layers from the background to the foreground to build your drawing. Since the pastels offer lines that are fairly thick, I opted to use coloured pencils to add in finer details and lines instead.
Step 5
The blossoms and leaves of the pear tree are the focal point of this drawing and can be applied heavily using the pastels in white, pink and green shades. Now you can add the blue sky around the blossoms as well. These elements should be the final addition to the drawing, so they serve as the top layer.
Once you are happy with the result, fix your work using the fixative spray.
Step 6
This completes your pear tree. We hope you’ve enjoyed this tutorial and it inspires you to try to recreate a famous painting yourself. If you do, please share your results using #RoyalTalens. Have fun experimenting!