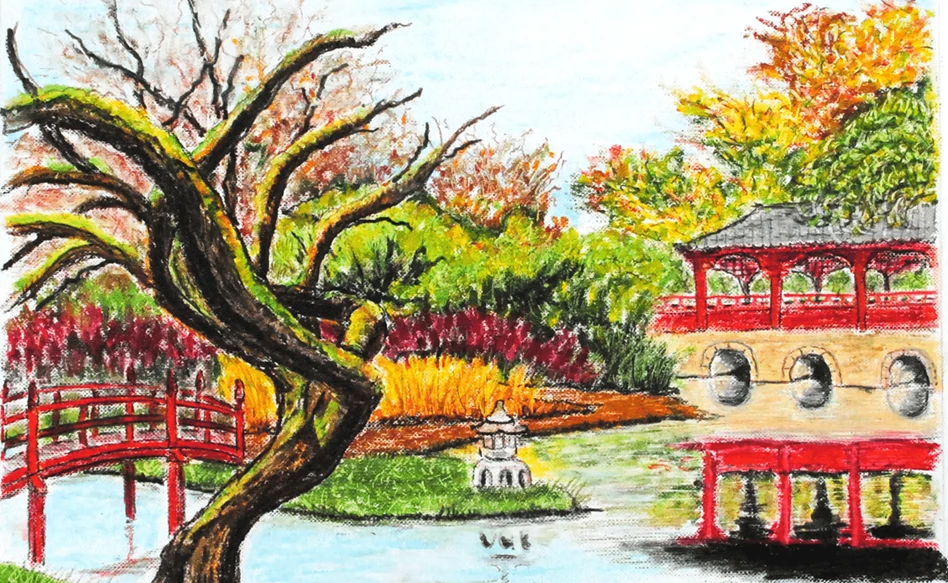
Japanese garden in oil pastel
In this step-by-step plan, Gerdien (@artbygejoja on Instagram) shows you how to create a tranquil Japanese garden using Sakura Cray-Pas oil pastels. These smooth, brightly coloured pastels are easy to blend and allow you to create texture and depth, or even imitate the effect of oil paint. Gerdien also shares some wonderful tips on how to work make the most out of these special pastels, so let’s get started!
What you need
- Sakura Cray-Pas Expressionist oil pastels set of 50
- Van Gogh oil colour paper
- Bruynzeel Design Specialties oil pencil in Sanguine
- Sketching paper
- Cotton buds
- Paper towels
Tips
- Before starting, make sure you have a good surface to work on. For instance, a piece of cardboard, newspapers, an old towel or a table cloth would be great to protect your table from the pastel. Oil pastels tend to crumble a little while you’re working with them, so by protecting your surface, these crumbles won’t end up where you don’t want them.
- If you want to create sharp lines, use small, straight pieces of cardboard as a ruler.
- Blending colours is easiest using your fingers, but you can also use a cotton bud or the special blending pastel called the extender. This colourless oil pastel helps seamlessly blend colours with one another and allows you to extend any colour (hence the name).
- Make sure to keep a wet paper towel or wet wipe and a clean piece of paper towel handy. You never know when you’ll run out of clean fingers to use!
Step 1
Create a sketch on a separate sheet of sketching paper. You can use an actual photo as your reference or create your own garden. Now copy the sketch onto the sheet of oil colour paper using a light-coloured pencil.
If your sketch is a little more detailed, you can also create a sheet of carbon paper by colouring in the back of your sketch using a soft graphite pencil. Now you can place the sketch with the coloured side on your sheet of oil colour paper and trace the lines. This easily transfers your sketch onto your final sheet of paper!

Step 2
Start by working out some focal points of the drawing. In this case, the focal points of the drawing are the bridge, the tree in front, the lantern and the temple in the back.
Add some colour accents to the rest of the sketch and lightly colour in the sky and water using a soft blue shade.

Step 3
Now you can work on the other details of the drawing. Work from the back to the front, adding more details and colours in short strokes to create an oil painting effect.
For larger areas, a sturdy hog hair paint brush might come in handy. You can scratch out small details using a toothpick or add more definition to certain areas using a black coloured pencil.

This completes your oil pastel drawing! We hope this tutorial inspires you and that these useful tips help you in your next oil pastel endeavour. Have fun creating your own drawings and don’t forget to share your results using #RoyalTalens!
This step-by-step plan was created for Royal Talens by Gerdien (@artbygejoja on Instagram). Check out her profile for more beautiful drawings and illustrations!

Other step-by-step plans with pastels

Cherry blossoms in oil pastel
Step-by-step plan
Japanese garden in oil pastel
Step-by-step plan
Lascaux cave drawings
Step-by-step plan
Small Pear Tree in Blossom
Step-by-step plan
Portrait on Sanguine Red toned paper
Step-by-step plan