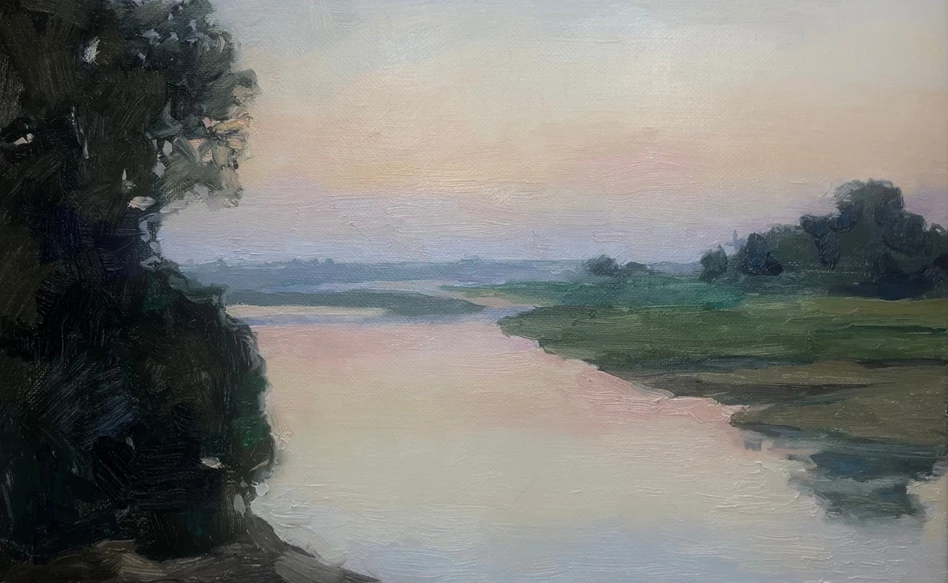
Landscape in oil colours
In this step-by-step plan, Anouk Bijsterbosch shows us how to create an open-air landscape using Rembrandt oil paint. When painting ‘en plein air’ (in open air) in natural daylight, you start to notice subtle colour transitions. Since natural light changes so quickly, the Alla Prima (also known as wet-on-wet) method works best to quickly capture colour. With Rembrandt oil colours, you can capture natural colours as accurate as possible because of the highest concentration of pigments of these oil colours that provide intensely deep colours.
Watch the speed paint video at the bottom of this page to see Anouk paint this landscape!
What you need
- 1 x canvas board, canvas or paper for oil paint: 30 x 40 cm
- Talens palette knife
- Bruynzeel graphite pencil 4H
- Talens palette
- Talens white spirit
- Talens boiled linseed oil
- Brushes:
3 different sizes hog bristle
1 x spalter hog bristle
3 different sizes natural soft hair
1 x pointed brush
Rembrandt oil colours
- Titanium White #118
- Naples Yellow Light #222
- Cadmium Yellow Lemon #207
- Yellow Ochre #227
- Cadmium Orange #211
- Carmine #318
- Cobalt Turquoise Green #682
- Phthalo Turquoise Blue #565
- Cobalt Blue Light #513
- Sèvres Blue #530
- Ultramarine Deep #506
- Permanent Blue Violet #568
- Raw Umber #408
- Ivory Black #701

Step 1
Start by making an accurate sketch of your surroundings using the pencil. You do not have to add small trees in the background yet, but try to add some recognisable treetops to the silhouette of the horizon.

Step 2
Mix a shadow shade for the trees on the left using Ivory Black, Yellow Ochre and a small tip of Ultramarine. Use the linseed oil (50%) and white spirit (50%) to make the paint a little more transparent so the white of the canvas shines through a bit. After this you can paint the trees that are further away on the right side. Mix a little Naples Yellow through your previous mixture for these trees. For the horizon you can add a bit of Cobalt Blue.

Step 3
Paint the left foreground using a mix #408, #227 and #118. Apply the colours of the river bank using loose, opaque brush strokes. Now paint the grass across the river using #682 and #565, mixed with a bit of #222. Make sure the paint is a little transparent in the background.

Step 4
Now we can start working on the air and the water. Start with the air above the horizon and work upwards using a lilac made by mixing #118 and #568. After that, use a new brush to mix the transition from lilac to light pink (#318 and #118). Add these colours close to each other and go over the border where these colours touch with a dry, soft brush. This should create a smooth, soft transition between lilac and pink.
Repeat this process for the transition from light pink to light orange. After this orange bar, you add a new mix of light yellow. Do the same for the water: start from the horizon and work your way down. This reverse colour transition mimics the reflection of the sky.

Step 5
Starting from the yellow bar you painted last, add a nice transition to the light blue sky above. Do this by painting a mix of the fresh #207 and a lot of #118 next to a pure #222. Add a mix of #530 and #118 above these colours.

Step 6
Try to create these bars of colours in the sky and the water using thick, pasty brush strokes. This creates a beautiful contrast between the creamy sky and water and the transparent trees and grass.

Step 7
Now paint the grass (#227, #682 and #118) and the river bank on the other side (#227, #118 and #408). Paint the reflection of the tree in transparent colours (mixing with the linseed oil and white spirit) and add dry, pasty brush stroke across the horizontal body of water.
This completes your painting. We hope you can use the tips in this step-by-step plan in your own work!
This step-by-step plan was created for Royal Talens by Anouk Bijsterbosch. Find Anouk on Instagram via @anoukbijsterbosch and her studio via @deflorencestudio. Don’t forget to watch the speed paint video below to see Anouk creating this painting!

Other step-by-step plans with oil colour
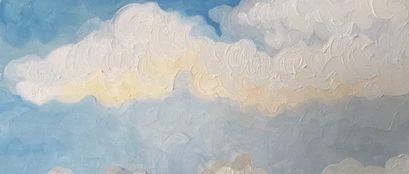
How to paint a cloudy sky
Step-by-step plan
How to paint lips using oil colours
Step-by-step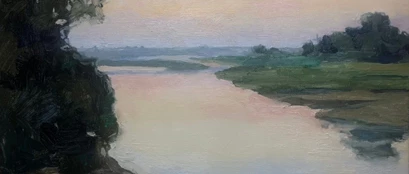
Landscape in oil colours
Step-by-step plan
How to paint a nose using oil colours
Step-by-step
Ear with Earring
Step-by-Step