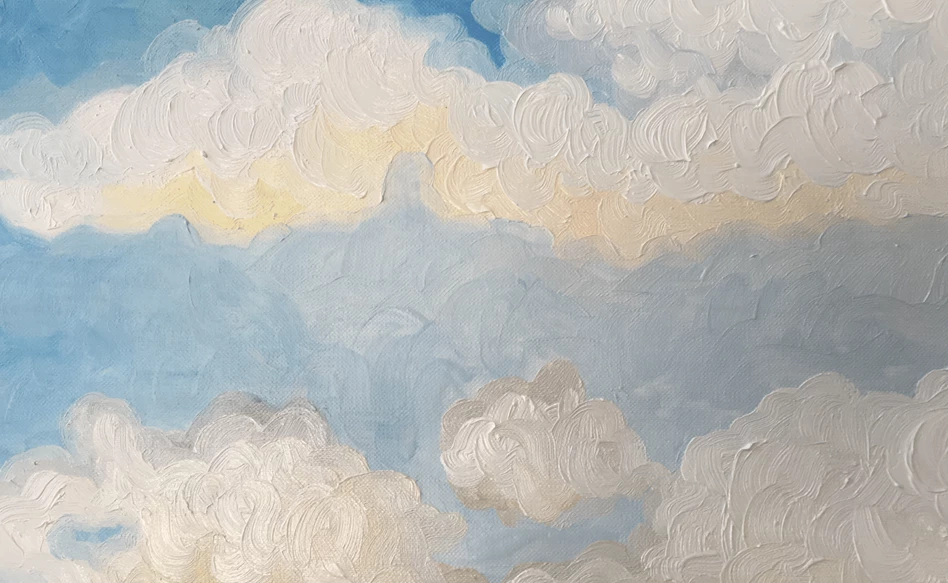
How to paint a cloudy sky
Clouds are an important part of landscape paintings and can even be the main subject due to their interesting shapes and colours. Especially here in the Netherlands, cloudy skies are an almost daily occurrence. Clouds can have many different colours depending on the time of day, the weather or season, so feel free to use any colour you prefer. The shape of a cloud can virtually be anything as well: as long as they’re not geometric shapes, they can be clouds.
In this step-by-step plan, we show you an easy way to recreate a fluffy, cloudy sky using Rembrandt soft pastels and Cobra oil paint in white. By mixing the pastels with oil paint, you can create a beautifully soft texture.
What you need
- Rembrandt soft pastels (colours: 205.7 / 201.5 / 202.5 / 235.5 / 547.9 / 548.7 / 570.5 / 512.9 / 506.7 / 411.9 / 227.9 / 704.8 / 318.8)
- Cobra Artist oil colour in Zinc White (104)
- Rembrandt oil colour paper
- Van Gogh oil/acrylic brush series 211 no. 6 (round)
- Water
Step 1
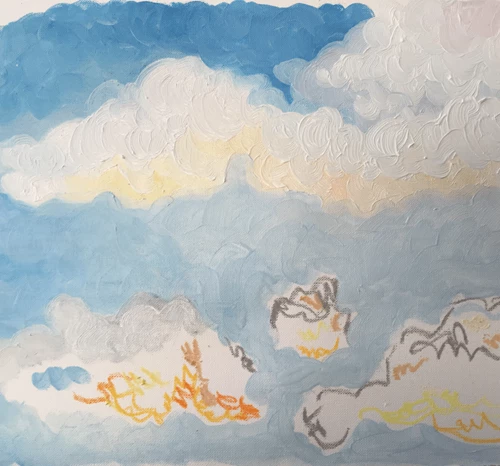
Start by indicating the bottom of the clouds using a couple of shades of the soft pastels (we used 205.7, 201.5, 202.5 and 235.5) on the sheet of oil paper. These first shapes don’t have to be precise, just make sure they somewhat resemble a cloud.
Add the top parts of the clouds using different colours (we used 547.9 and 548.7). Be careful not to blow any of the pigment particles of your paper, since you’ll need those later.

Step 2
Now indicate where you want the blue sky to be. Make sure to leave a little space between the clouds and the sky to blend the colours.
Time to add some paint: apply some Cobra Artist water-mixable oil paint in Zinc White to your palette and mix it with some water. Add a good amount to your brush and apply the paint to the coloured parts of the pastel drawing. Mix the soft pastel with the white paint. Move your brush in circular motions to create a cloud-like effect. Because Zinc White is a not fully opaque colour, you can still clearly see the soft pastel colours through the paint.

Step 3
Keep adding ‘clean’ paint to the areas you’re working on to make sure the colours don’t mix too much. If you’re working on a yellow and orange area, stay within that area to prevent your purple area from becoming too yellow as well. This means you don’t have to rinse your brush in between the different colours.
Don’t use your paint too sparingly, by adding a large amount of paint, you can create a nice depth on the paper and give the clouds a thicker appearance.
Clean your brush with water. Use a soft pastel in the colour 512.9 to create a transition colour between the clouds and the sky.

Step 4
To create the sky, add more water to the oil paint in Zinc White to make the paint more transparent and in turn make the blue shine through more. This makes the paint less ‘fat’ than what you used to create the clouds, since the blue sky is supposed to be behind the clouds. Don’t be afraid to touch the edges of the clouds while painting the sky, this helps to blur the edges out more naturally.
Keep playing and experimenting with colours and shapes, using more or less paint until you’re satisfied with the results.
TIP: try not to blend for too long, or else the beautiful nuances in colour will disappear.

Step 5
Now that you know what to do with your colours and paint, you can start adding the bottom layer of clouds and the sky surrounding them. Since the clouds usually are lighter at the bottom than at the top, we decided to go for lighter, more greyish colours (512.9 and 704.8).
Use a clean brush and add some more paint mixed with water to the sky in between.

Step 6
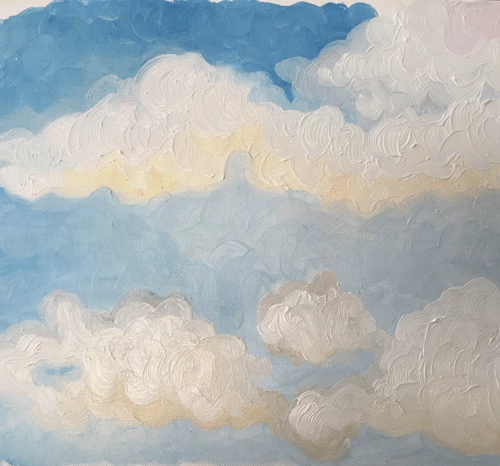
Your sky doesn’t need to be finished quite yet, it’s fine to take a break in between since oil paint doesn’t dry quickly. Create a few more clouds (we used 411.9, 227.9, 205.7, 201.5, 235.5 and 704.8). To create the sky, we mainly used 512.9 and a little bit of 506.7 on the left side.
For this part, work on the sky first to blend it with the top half of the painting, then work on blending out the clouds.
That completes your cloudy sky! We hope you try out this fun and easy technique. Experiment with different colours and shapes to completely change the mood of your painting and have fun with it!
Other step-by-step plans with oil colour
How to paint a cloudy sky
Step-by-step plan
How to paint lips using oil colours
Step-by-step
Landscape in oil colours
Step-by-step plan
How to paint a nose using oil colours
Step-by-step
Ear with Earring
Step-by-Step