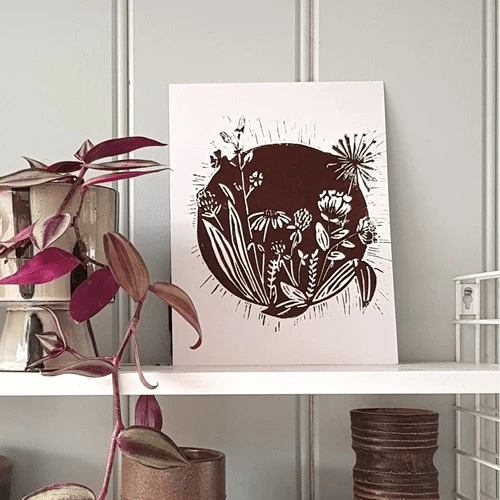
Ready to try lino printing at home? In this tutorial we guide you through sketching, carving and printing your own handmade lino stamp. Follow the steps and enjoy the creative process.
Sketch your design on the linoleum sheet. It does not have to be a very clean sketch, as it will not be visible in the end. It just needs to be clear enough to see where to carve.
When you are happy with the design, you can start carving away the linoleum. Be careful, the tools are sharp! It is important to remember that everything that is not cut away, will show up in your design. You need to think a little in reverse, for this!
Step 2
Once you are happy with the cut, you can start the printing process. Put a little bit of paint onto a tear-off pallet or other smooth surface. Make sure your brayer is completely covered in a nice layer of paint. Roll it gently over the linoleum, without too much pressure, to make sure everything is coated.
Step 3
Take your painted lino stamp and press it firmly onto the paper. Press thoroughly on every corner to make sure the paint touches the surface. You can add a new coat of paint if you want to make more prints. Let the paint dry for at least 30 minutes.
When you are done, or want to switch colours, wipe most of the paint off with a damp cloth and wash off the residue with water. Store the lino stamp away for future use.