Painting a nose - Royal Talens

What you need

  • Rembrandt oil colour in Titanium White (#118)
  • Rembrandt oil colour in Ivory Black (#701)
  • Rembrandt oil colour in Burnt Umber (#409)
  • Van Gogh oil colour in Yellow Ochre (#227)
  • Van Gogh oil colour in Cadmium Red Medium (#314)
  • Round (#1 and #2) and flat (#7) synthetic brushes
  • Tear-off palette
  • Talens white spirit
  • Talens bleached linseed oil

Tips

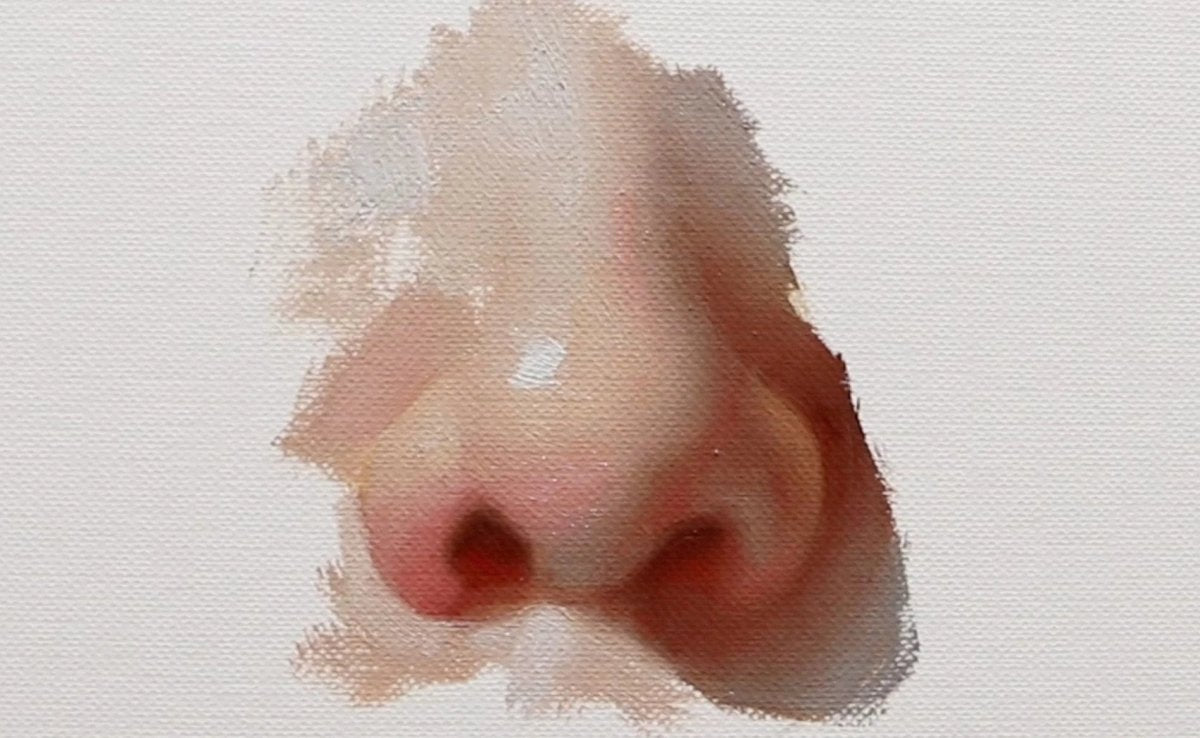
I usually divide the process of the painting into three stages:

  1. The base. This part is pretty sloppy. I try out different colours, see how they work together and add some variety.
  2. The transition. Once I’m happy with the result of the previous step, I proceed to mix and add the transitional colours in between the existing colours.
  3. The blending. This is where I create smooth lines between the colours I have already applied. I use an old fluffy brush to do that.

Step 1

Create some mixes of different skin tones and shadow shades on your palette using the colours pictured and the white spirit and linseed oil.

Step 2

Paint the outline of the nose. I did this using a diluted brown colour.

Step 3

Fill in the shape using the three brown shades we mixed on our palette. These will be our base.

Step 4

Different parts of the nose have different tints. For example, the tip usually has more red, so let’s add some red!

Step 5

Add your transition colours and blend them together with the existing colours.

Step 6

Time for some blending. I use an old fluffy brush to smooth the lines between all the colours.

Step 7

For the final touches I have added a bit more detail to the nostrils and finally added a highlight.

And our nose is done! I hope you liked this lesson. Don’t forget to share your results using #RoyalTalens!

This wonderful step-by-step plan was made for Royal Talens by Zarina Situmorang (@zarinasart on Instagram).