
Building a portret
Soft pastels are a great medium for portraits. Building a portrait, however, can be tricky. This step-by-step plan contains some useful tips to start creating your own portraits using soft pastels!
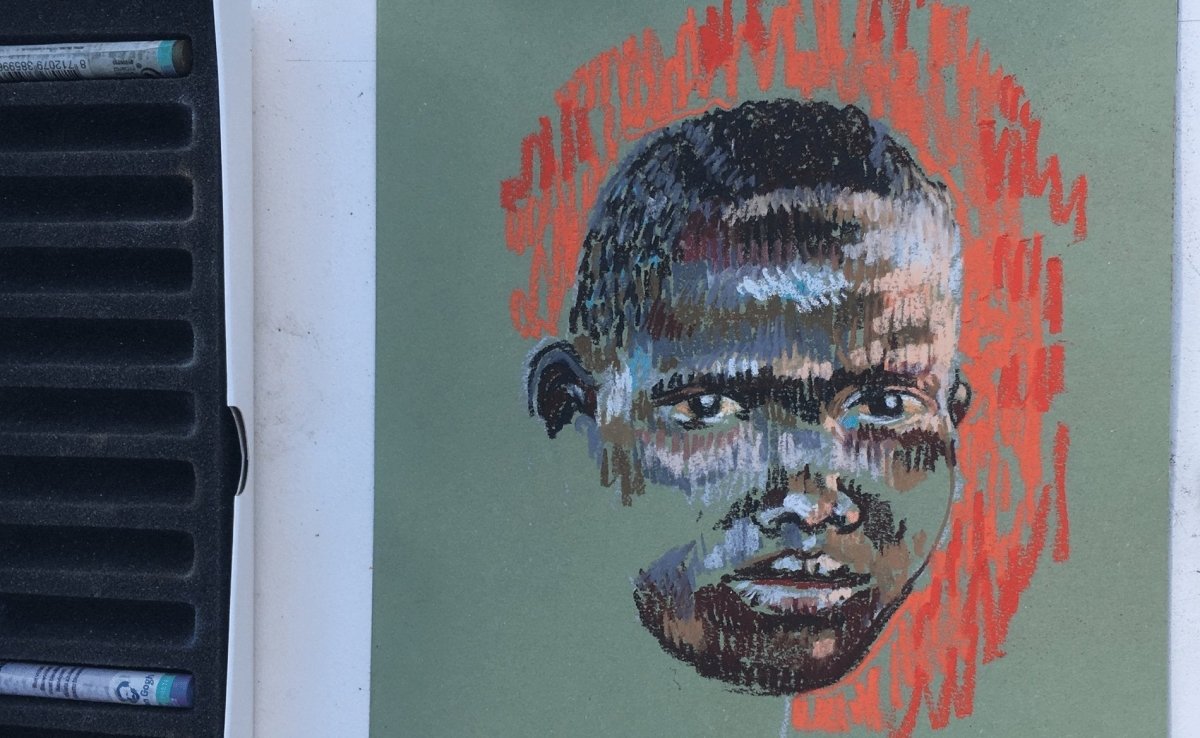
Skin tones are notoriously hard to create, which is why we used Van Gogh Soft Pastels Portrait Selection. This selection of 36 contains all the shades you need to easily create a wide variety of skin tones. We also used Rembrandt toned paper in the colour Verona Green to compliment cooler colours and make warm tones pop more.
Step 1
Sketch the contours of the face using a light shade. We used 707.9, but you can use any of the lighter shades. Try to give some indication of where the eyes, nose and other shapes of the face should be.

Step 2
Start adding the same light shade to where light would naturally hit the face: the forehead, cheekbones, top of the nose and lips.

Step 3
Time to add some definition. Use a dark shade to contour the eyes, nose and other places that need some contrast like the top of the forehead, ears and beneath the bottom lip.

Step 4
Creating a portrait is all about looking closely at the colours that are incorporated. Portraits do not only contain colours you would immediately think of, so try to add some accents using bold colours as well. This may seem daunting at first, but these shades will blend in with your portrait the more you add.

Step 5
Add more accents until you feel like your first layer is complete. Soft pastels blend very easily. To prevent your different layers from completely blending into each other, use the fixative spray in between your layers. Apply the spray fixative sparingly and make sure to let it dry completely before starting on your next layer.

Step 6
Continue building up your portrait with small strokes instead of sweeps to create a sketching effect. You can of course choose to blend your colours more if you like that look, experiment and have fun with it!

Step 7
Since we have a nice green background because of the toned paper, we decided to make the background pop with a bright orange colour.

Step 8
Once you are satisfied with the result, you can set your portrait with the fixative spray. It is really important to properly set pastel pieces to make sure the pigment adheres to the paper.
That completes your drawing! We hope these tips help you if you try to create a portrait with pastels. If you do, please share your result with us using #RoyalTalens, we would love to see it!

Other step-by-step plans with pastels

Cherry blossoms in oil pastel
Step-by-step plan
Japanese garden in oil pastel
Step-by-step plan
Lascaux cave drawings
Step-by-step plan
Small Pear Tree in Blossom
Step-by-step plan
Portrait on Sanguine Red toned paper
Step-by-step plan