Decoupage letters
Our Decoupage is a DIY must have: it’s a 2-in-1 that works as paint as well as glue. It enables you to make collages or decorations with different materials you have lying around your house like napkins, magazines and newspapers. It also can be used on a variety of grounds: wood, cardboard, clay and more!
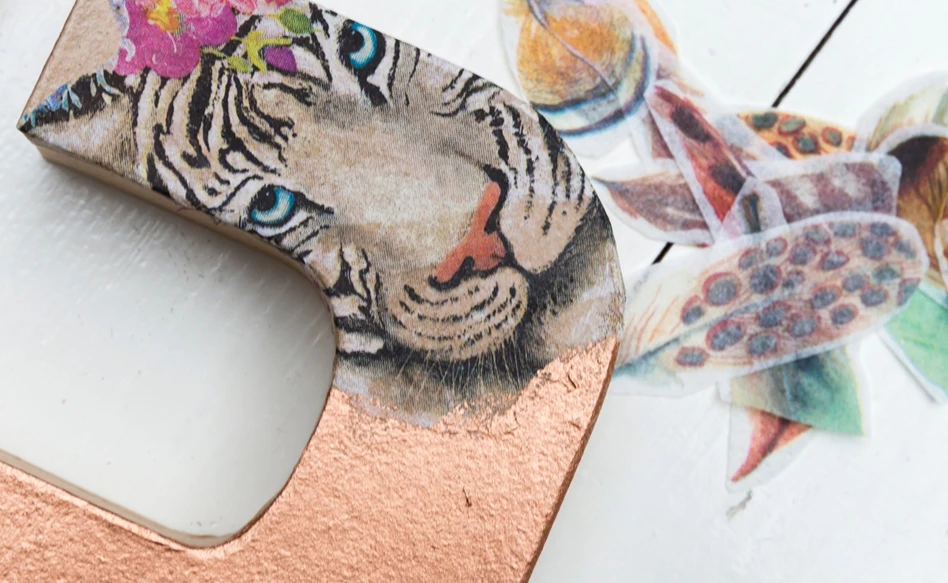
In this step-by-step tutorial, we’ll be creating decoupage letters! To give the letter an even better look, it’s painted with our Metallic paint. The Metallic paint has a quick drying time (10 minutes!) and becomes water resistant. This allows you to easily continue with the Decoupage without having to wait for too long. You can hang these personalised letters on the wall or on your bedroom door.
What you need
- Talens Art Creation Decoupage
- Sponge stick
- Soft brush
- Napkins
- Scissor
- Cardboard letter
Tips
- After use, clean the sponge stick and soft brush immediately with water
Step 1
Shake the metallic paint before use. Paint the cardboard letter using a sponge stick. Let it dry for 10 min.

Step 2
Choose a napkin and peel off the top layer. A napkin usually has 3-4 layers. Only use the top layer that holds the image.

Step 3
Cut out the image.

Step 4
Shake the decoupage before use. Add a layer of decoupage on the letter with a soft brush. Put the image on top of the wet layer of decoupage.

Step 5
Add another layer of decoupage on top of the image. Let it dry for 30 min. The decoupage is white when wet, but transparent once dry.

Other Deco & Craft ideas


5 DIY Mother's Day Gifts
Step-by-step plan
DIY holiday sign
Step-by-step plan
DIY wintery flowerpots
Step-by-step plan