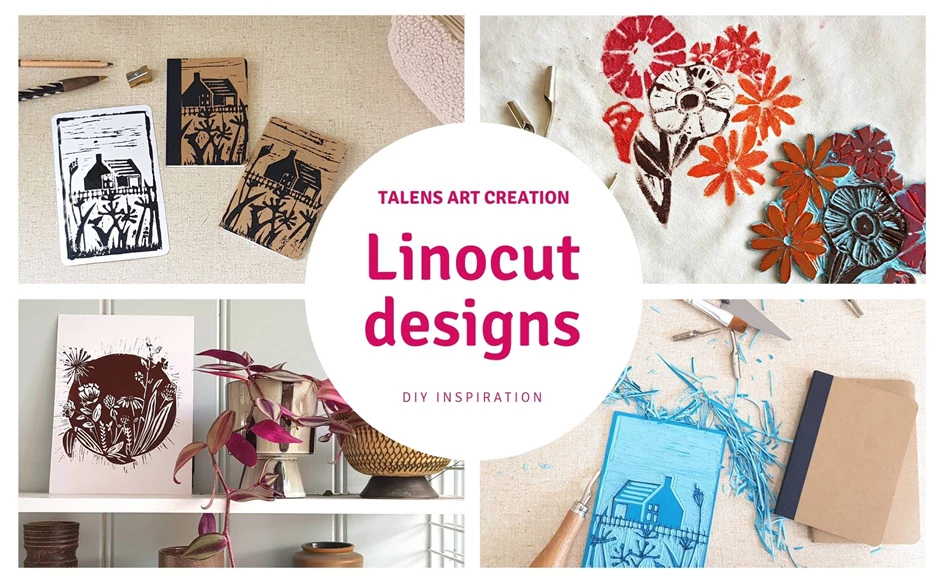
3 DIY lino projects
In this blog we will show you three lovely linocut projects. Each project builds on the same basic lino cutting technique but ends in a wholly different result. After all, linoleum art is not limited to prints on paper, it opens a whole world of possibilities!
Contents
What you need
The first step in any project is to gather the materials. For the projects in this blog, and for most lino projects, you will need:
Step 1
Sketch your design on the linoleum sheet. It does not have to be a very clean sketch, as it will not be visible in the end. It just needs to be clear enough to see where to carve.
When you are happy with the design, you can start carving away the linoleum. Be careful, the tools are sharp! It is important to remember that everything that is not cut away, will show up in your design. You need to think a little in reverse, for this!

Step 2
Once you are happy with the cut, you can start the printing process. Put a little bit of paint onto a tear-off pallet or other smooth surface. Make sure your brayer is completely covered in a nice layer of paint. Roll it gently over the linoleum, without too much pressure, to make sure everything is coated.

Step 3
Take your painted lino stamp and press it firmly onto the paper. Press thoroughly on every corner to make sure the paint touches the surface. You can add a new coat of paint if you want to make more prints. Let the paint dry for at least 30 minutes.
When you are done, or want to switch colours, wipe most of the paint off with a damp cloth and wash off the residue with water. Store the lino stamp away for future use.

Floral Tote Design
Besides paper, you can easily stamp your design onto anything textile so long as you use textile paint. For example, a tote bag!
Make sure your bag is washed without fabric softener and completely dry. Insert a piece of carboard underneath the area you will paint to prevent the paint from bleeding through to the back of the bag.
Next, paint your design with textile paint. If you want a design with one colour, you can use the brayer. If you want different colours, you can use a brush for a more precise application. Press the design firmly onto the tote and let dry for 30 minutes.

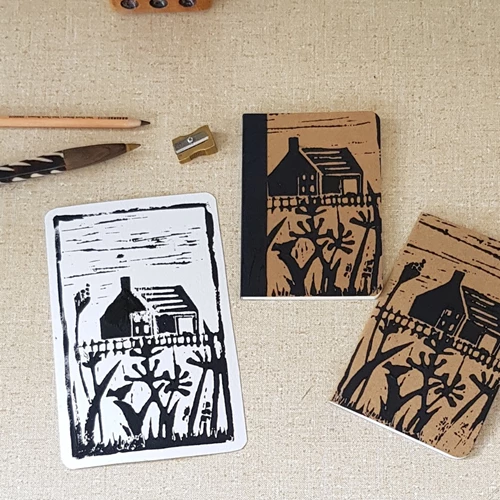
Notebook cover
Another fun way to use a lino design, is to create a notebook cover with it.
Using the same methods as before—sketching, carving, and painting the stamp with a brayer or a brush—you can create your own custom notebook. If needed, you can add details or do corrections with a fine liner.
All designs in this blog are made by Margreet Bunt Dekker.
More inspiration


Surprise your Valentine with a hand-made card this year! In this video, we show you how you can create your own lino stamp to decorate cards with! We used a stencil for this lovely heart design, but you can create your own design as well! Talens Art Creation Lino Colour in red is the perfect colour for this card, don’t you think? Have fun creating your own cards!

Did you know you can use lino printing in more ways than just transferring a stamp to paper? In this video, Gitte Klausen from Kreativlivsstil Magazine shows us some different stamping techniques using Talens Art Creation water colours and lino colour. Have fun experimenting!

In this step-by-step tutorial we’re showing you all you need to know for creating your own lino art! In our example, we’re cutting out the shape of fish and using a beautiful blue shade of our Lino Colour, but any shape or drawing is possible. Learn your way with the Lino cutter, try out one of the 11 different shades and have fun with it!

In this video, we show you how to use Talens Art Creation Lino Colour on your lino carvings! Use a set of carving tools to carve out your stamp and use Lino Colour to print it onto paper. Available in 11 bold colours, this paint was made especially formulated to make your lino print bright and colourful! Try it out yourself!
Other Deco & Craft ideas


5 DIY Mother's Day Gifts
Step-by-step plan
DIY holiday sign
Step-by-step plan
DIY wintery flowerpots
Step-by-step plan