Heda's still life with Van Gogh watercolour - Royal Talens

What you need

  • Van Gogh watercolour starter set or separate tubes or pans: Titanium Buff 291, Permanent Lemon Yellow 254, Permanent Orange 266, Yellow Ochre 227, Permanent Red Deep 371, Burnt Sienna 411, Olive Green 620, Ultramarine 506, Lavender 525, Permanent Blue Violet 568, Raw Umber 408, Ivory Black 701
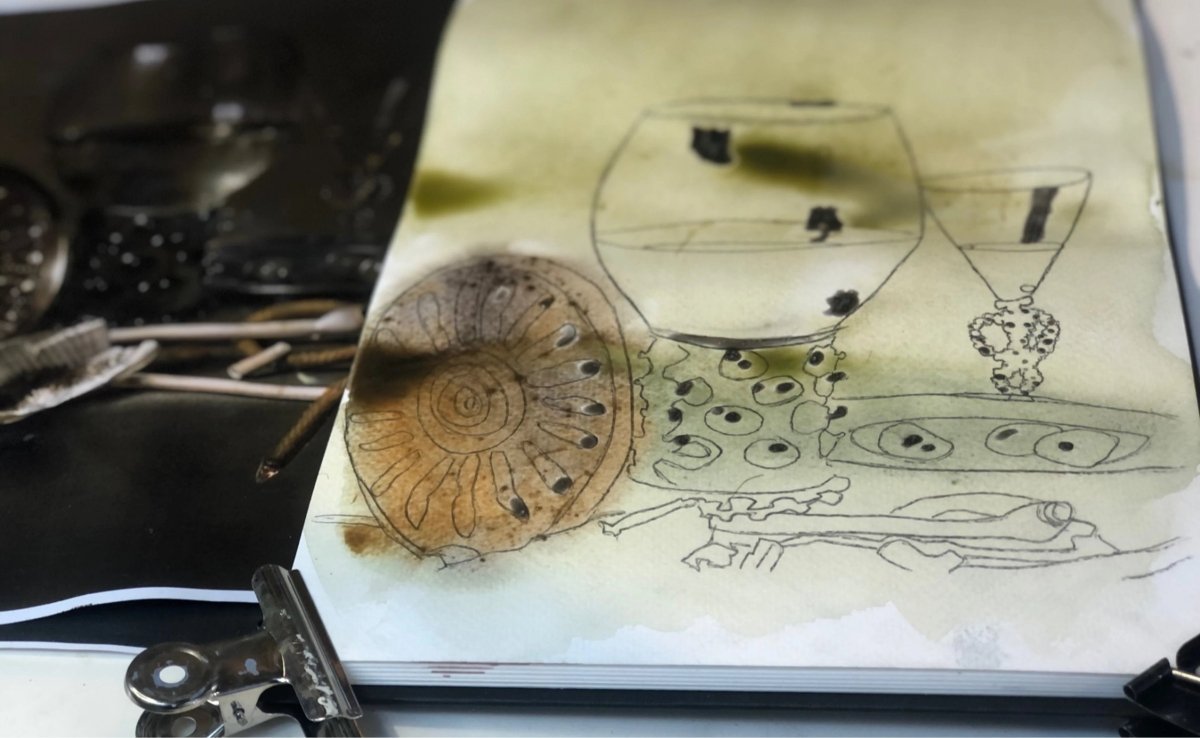
  • Van Gogh watercolour paper A4
  • Van Gogh watercolour brushes
  • Bruynzeel graphite pencil in 4B
  • Talens masking fluid
  • 2 glasses of clean water
  • Paper towels
  • Besides this, we recommend you have an extra blank sheet of watercolour paper to use as a palette

Step 1

Start with a sketch.

Create a detailed drawing using Heda’s famous still life painting as your reference with your graphite pencil. Use clear, sharp lines.

If you don’t want to create your own drawing from scratch, you can also trace the image onto the water colour paper. Print a copy of the image and use the 4B graphite pencil to colour in the entire back of your sheet of water colour paper. This creates carbon paper, which allows you to easily trace the lines of the image onto your paper.

Step 2

Prepare your workspace.

Place your palette next to your stretched watercolour paper (using painter’s tape). This is your mixing sheet on which you can mix the water and paint and test the colours.

Use the masking fluid to spare out a few interesting details, for instance the highlights on the drinking glasses and the strokes of light on the metal cup and olives.

TIP: To make sure the masking fluid doesn’t dry into the hair of your brush, apply a little bit of dish washing liquid to the brush before dipping it into the masking fluid.

Step 3

We recommend starting with a wet-on-wet technique.

First, wet the parts you want to create your first wash of colour on using clean water. Then mix your watercolours on the palette sheet of paper and thin the mixture using water until you have a tea-like consistency.

Paint large blocks of paint to add colour to the whole surface of the paper (the foreground, middle and background). These colour washes should be very transparent so you can build up your painting. Work with large/broad brushes.

Start with the lightest parts of the painting.

Let your work dry completely and take a break (or use a hair dryer to make the paint dry faster).

Step 4

Add shadows

In the next phase, you can apply the wet-on-dry technique with a paint consistency like milk.

Carefully add the shadows with darker colours. Use a pointed brush to shape the edges of the rough shapes. Work with the shadow line, here you can find the most information about the texture and colour of the object: smooth, matte, fluffy, metal, grainy, etc.

Try to avoid the lightest part as much as possible.

Step 5

Work in layers.

Now you can apply an opaque layer to certain parts of the painting using a honey-like paint consistency (using a wet brush and almost pure paint from the tube).

Remove the masking fluid by using an eraser once the paint has completely dried to reveal the highlights of your painting.

Find drop shadows where the objects touch each other.

Step 6

Add details.

Add details using your finest, thinnest brush. Use a dry brush and almost dried up paint to add the darkest spots to the painting.

This step-by-step plan was made for Royal Talens by Anouk Bijsterbosch. Find Anouk on Instagram via @anoukbijsterbosch and her studio via @deflorencestudio.

Related blogs

Colour mixing with watercolour paint - Royal Talens
Painting with watercolour

Colour mixing with watercolour paint

Using Van Gogh watercolour paint in the three primary colours: 254 Permanent Lemon Yellow, 366 Quinacridone Rose and 570 Phthalo...
Workshop Van Gogh aquarel - Royal Talens
Painting with watercolour

Painting a flower wreath

Get to work with Van Gogh watercolours and create your own colourful wreath. Watch the tutorial by Maureen and have...
Granulating colours - Royal Talens
Painting with watercolour

Granulating colours

What does granulation mean and how do you use these special colours? What happens when you mix them with regular...
Iris flower painting - Royal Talens
Painting with watercolour

Painting irises

In this step-by-step plan, Siona shows us how to create an iris painting, using coloured Sakura Pigma Micron fineliners and...
Painting a sumo wrestler in watercolour - Royal Talens
Painting with watercolour

Painting a sumo wrestler

In this step-by-step plan, we show you how to paint a mighty sumo wrestler using watercolours. Let’s get into it!
Painting orange peonies and cherry blossoms in watercolour - Royal Talens
Painting with watercolour

Painting an Emakimono

In this step-by-step plan, Merel shows you how she created this spread of different flowers in a sketchbook. As you...
Painting flowers - Royal Talens
Painting with watercolour

Painting flowers

Learn how to paint flowers using watercolours. This step-by-step plan is full of tips, photos and a video: perfect for...
Painting a portrait with watercolour - Royal Talens
Painting with watercolour

Painting a portrait

Learn step by step, layer by layer how to build a portrait in watercolour. How do you obtain depth, and...