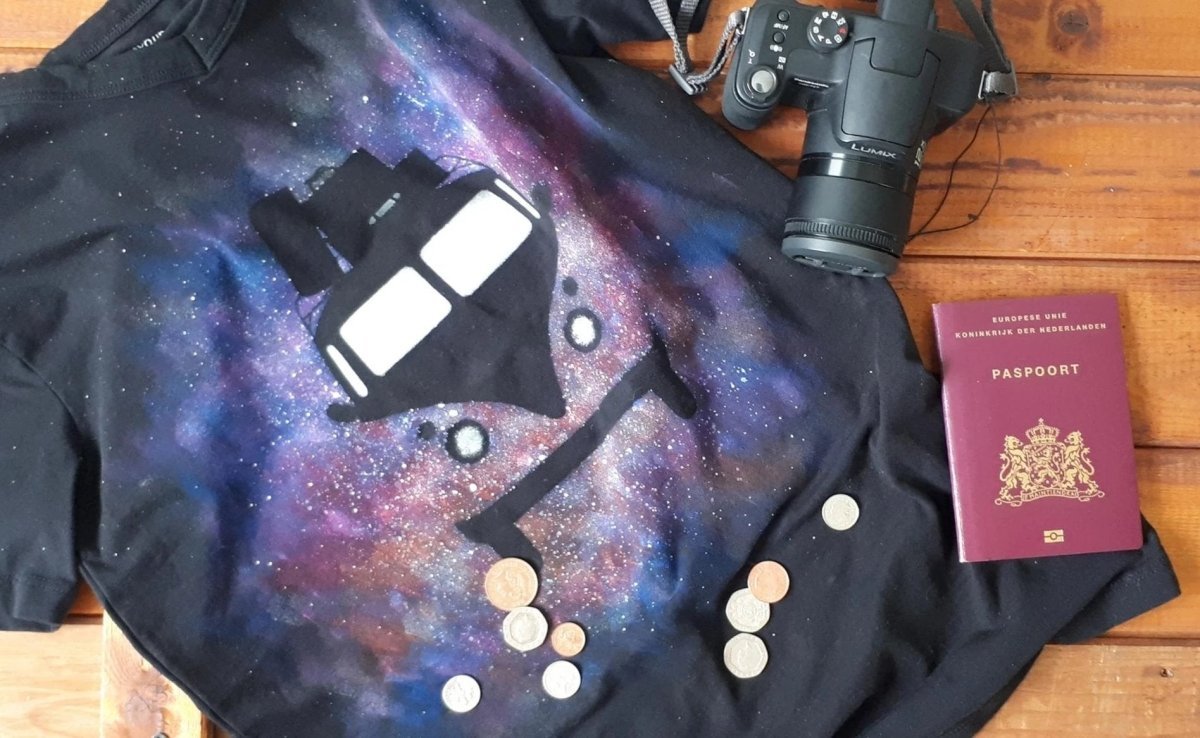
DIY Galaxy travel T-shirt - Royal Talens

Everything you need

  • Black t-shirt (At least 50% cotton and washed without fabric softener)
  • A3 Board with plastic around it: to put into the shirt
  • (Make-up) sponge: used to apply the paint
  • Small round brush for the details
  • Big flat brush to splatter
  • Textile paint opaque: pure white, sunny yellow, warm orange, powerful red, stunning violet and royal blue
  • Textile paint: Elegant black and nightlight
  • Paint palette
  • Painter's tape (double-sided tape)
  • Scissors
  • Knife and cutting board
  • Template of the van
  • Pencil
  • Thick paper
  • Greaseproof paper
  • Iron

Step 1

Making a stencil

We start by making a stencil. For this you have to copy the template of the van to a thicker piece of paper (or plastic sheet). Use a graphite pencil to cover the back of the template and lay this on top of your thick paper (with the graphite touching the paper). Draw over the lines of the template by using a pencil or pen. If everything goes well, the image of the van will be copied on the paper.

Step 2

Cut the outline of the van

Use scissors to cut the outline of the van. For the windows, use a knife and cutting board. Save the windows and tape them back in with painter’s tape.

Before we start painting, we also have to protect the back of the T-shirt. Start by putting the plastic around the (card)board. Stick the board with the plastic on top inside the t-shirt. This will prevent the paint from ending up on the back of the T-shirt.

Step 3

Lay your van on top of your t-shirt

Lay your van on top of your t-shirt and adhere it with the painter’s tape or use double-sided tape. Make sure that the tape that is holding the windows is on top, so you can remove the tape and the windows without removing the whole stencil. Use a different sponge for every color, so that the colors do not mix.

Step 4

Thin layers of paint

Start by applying thin layers of paint. It does not matter where or with what color you start. The most important thing is that the whole stencil is covered, so that the image will be visible when you remove the stencil. Try to make the paint fade into the background by using only a thin layer of paint at the edges.

Step 5

Splattering the T-shirt

Cover the parts of the T-shirt that do not need stars. Then, use a big brush and thin the paint a little with water. I use white as a base color, but you could mix it up with the other colors to make more colorful stars. Now start splattering the T-shirt! And yes, the splatters will end up everywhere 😉

When the paint is dry, remove the windows of your van. Use white paint and a sponge and paint the windows. When the white paint is dry, you can paint over the nightlight paint in the same way. Make sure the layer is not too thin, otherwise it will not glow in the dark.

Step 6

Add some details

Use a thin brush to add some details (or cover some mistakes). Like the headlights (same way as the windows), the baggage carrier on top of the car and the handles on the bags. Maybe even the windshield wipers?

Step 7

Fixate the paint

After drying and before washing you have to fixate the paint. Use greaseproof paper to cover your painting and iron for 5 minutes at cotton temperature. After this, your T-shirt will be washable at 40 C. And that's it!

This tutorial was made for Royal Talens by Siona Snel. Check out her instagram right here!

Related blogs

Upcycle your clothes with line art - Royal Talens
Painting with textile paint

Upcycling clothes with line art

A cotton canvas is always a good option, but why not try something new? In this tutorial, we’re showing you...
Tree design on fabric - Royal Talens
Painting with textile paint

Creating a tree design on textile

In this video we show you how to create a colourful tree design on a piece of cloth. Have fun...
Pillowcase designs - Royal Talens
Painting with textile paint

Designing a pillowcase

Add some colour to your home décor with these personalised pillows! Get inspired by our 4 video tutorials.
Table cloth with lemon stamps - Royal Talens
Painting with textile paint

Upcycling a table cloth with lemon stamps

With this tutorial, we’re showing you a fun afternoon project to make your garden even more cheerful! With some fruit...
Stencil art on a T-shirt - Royal Talens
Painting with textile paint

Stencil painting on a T-shirt

Stencil the shirt of your dreams! Is this step-by-stap plan we’re showing how to use our Textile Opaque paint to...
Shibori technique - Royal Talens
Painting with textile paint

Shibori technique

Shibori is the Japanese way of dyeing textile. There are countless ways to create the effect. Essentially, any way you...
Make your own totebag - Royal Talens
Painting with textile paint

Decorating a tote bag

In this video, we show you how you can use the textile paint to decorate your own tote bag. We...
Make your own Halloween bag - Royal Talens
Painting with textile paint

Designing a Halloween bag

Trick or treat in style with your hand-made trick or treat bag this Halloween! In this easy step-by-step plan, our...