Have you ever tried drawing a building or street, but not quite getting the perspective to look right? With this tutorial you can learn how to add depth and perspective to your drawing in steps. Draw with us and create your own urban drawing of a street in Rome!
Sketch out the street using the Van Gogh graphite pencils. Check what perspective should be used for each individual object in your reference photo. A photograph or painting always uses multiple perspectives.
In the case of our drawing, we are looking at two perspectives: one with a central vanishing point (one-point perspective) and there are objects with two vanishing points (two-point perspective) as well.
The houses on the left and right of the drawing are drawn in a one-point perspective. This means that all the lines are drawn towards one vanishing point on the horizon as is depicted in the drawing in green lines.
Step 2
At the same time, we can see that the building in the middle of the street has two walls, since we are looking around its corner. Because of this corner, a different perspective is in place; the two-point perspective. This means the lines of the building are drawn towards the sides of the drawing. These lines are at the same height as the lines of the one-point perspective since there can only be one horizon.
The two-point perspective is depicted in red and yellow lines in the drawing of step 1. Here you can see that the vanishing point to the right is located outside of the drawing. This happens quite often.
Tip: Carefully look at how objects are placed to see what perspective you should use. With objects that we see from the top or the bottom, the vertical lines of the walls are not drawn parallel but towards each other. This is called a three-point perspective (not applicable in this drawing).
Step 3
Bristol paper is well suited for pencils due to the smoothness of the paper. This paper can handle a little water as well (not too much), which makes it ideal for mixed media techniques such as water colour pencils or Ecoline. For this step-by-step plan, we chose to work with Van Gogh water colour pencils in rich, warm Mediterranean shades.
Step 4
Start adding colour using the water colour pencils, but without adding water for now. First, colour in the parts of the buildings the sunlight hits with lighter colours. Add contrast by colouring in shadows using darker colours. The dark shadows bring the drawing to life.
Step 5
Use the water colour brush dipped in water to soften the colours and add more variation to the lines. By slightly washing out the colours, you create softer colour transitions and interesting blocks of colour. You can of course choose not to do this with every part of the drawing. By not using the water on all parts of the drawing you can create a nice contrast between drawn and painted areas. Water is also useful to correct any errors you made.
This technique is perfect to use on Bristol paper since you can use it to create a water colour effect without using a lot of water. While Bristol paper does absorb water, it is not water colour paper, so it is recommended to use the water sparingly. After applying water to the Bristol paper, some bumps will appear, but these will go away completely once the paper dries.
Tip: shortly after your work has dried, put some heavy books on top of it to make your paper completely flat again!
Step 6
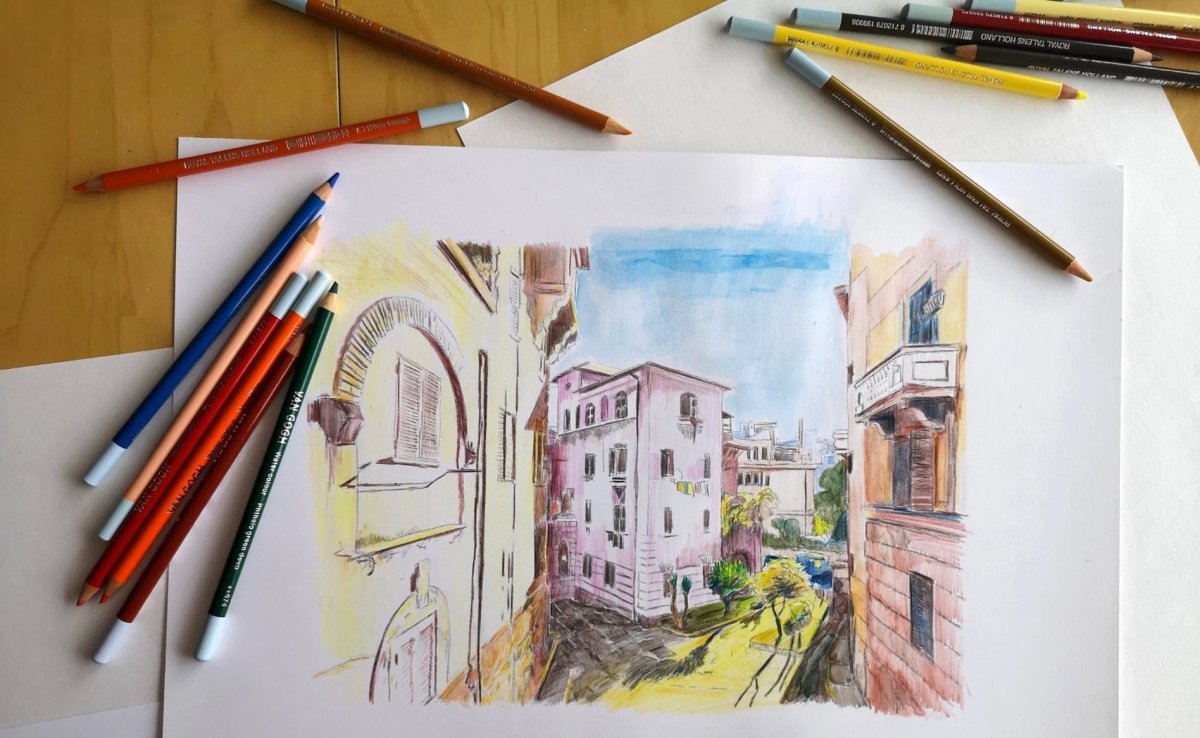
The end result: memories of a warm day in the eternal city.
We hope you learned something about perspectives through this step-by-step plan. If you try them out yourself, let us know by sharing your results using #RoyalTalens! We would love to see your urban drawing!