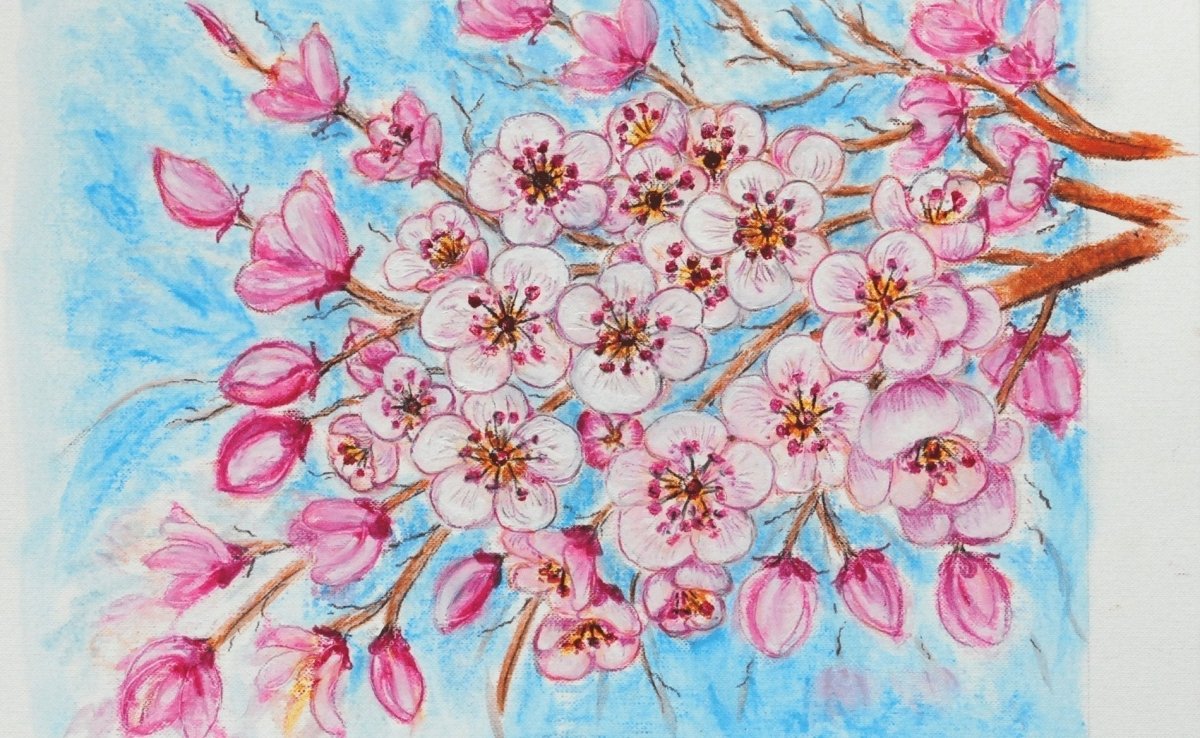
Drawing cherry blossoms in oil pastel
In this step-by-step plan, Gerdien (@artbygejoja on Instagram) shows you how to create these beautiful cherry blossom branches using Sakura Cray-Pas oil pastels.
Sakura, the Japanese brand known as the creator of Pigma Micron fineliners and Gelly Roll gel pens, is also the inventor of Cray-Pas, the original oil pastel that combined premium-quality pigments, wax and oil into a pastel stick.
Did you know sakura means cherry blossom in Japanese? How fitting for this artwork! This step-by-step plan also contains some useful tips on how to work with oil pastels, so let’s get right into it!
Start by making a sketch of your composition on a sheet of sketching paper. You can use a reference photo if you want to.
To set up your workspace, tape down the sheet of oil paper you’re going to work on using painter’s tape. You may also want to create some swatches of the colours you will be using. This will make selecting colours a lot easier!
Recreate your sketch.
If you want to recreate your sketch on the sheet of oil colour paper, use a light-coloured pencil. If you use a graphite pencil, the lighter coloured oil pastels will mix with the pigment of the graphite and create a muddled grey colour.
You can also choose to start by lightly adding some colour to the sheet of oil paper without using a sketch. Since the colours of Cray-Pas pastels are very intense, you may only need to use a little bit to create lighter colours.
Use white and light blue for the sky in the background and blend these colours with a brush dipped in the white spirit. This makes it easier to spread the pastel pigments and create a nice, smooth surface.
Add some more colour.
Use different shades of brown for the branches and pink for the petals of the cherry blossoms. For the open blossoms, start with an orange-yellow shade in the middle.
Time for some details!
Emphasize the details of the flowers like the core and the stamen using a black pencil. You can scratch out small details using a toothpick or other sharp object like a palette knife.
And that completes your cherry blossom drawing!
We hope this tutorial inspired you to create your own oil pastel drawings using these tips! If you do, share your results using #RoyalTalens, we would love to see them.
This step-by-step plan was created for Royal Talens by Gerdien (@artbygejoja on Instagram). Check out her profile for more beautiful drawings and paintings!