Step-by-step

Urban Landscaping with Ink

Drawing ink is one of the most traditional drawing techniques. It offers a multitude of possibilities. The strong pigmentation delivers a very deep black, sepia or white. Diluted with water you can use it like watercolour. The difference is that once dry the drawing ink is water resistant which allows you to work in many layers. In this tutorial I will show you how to work with drawing ink together with acrylic ink for some colours.

Go to step 1

Tips


Important! Clean your tools and your brush with water directly after use. This goes for all inks, because they dry out waterproof.
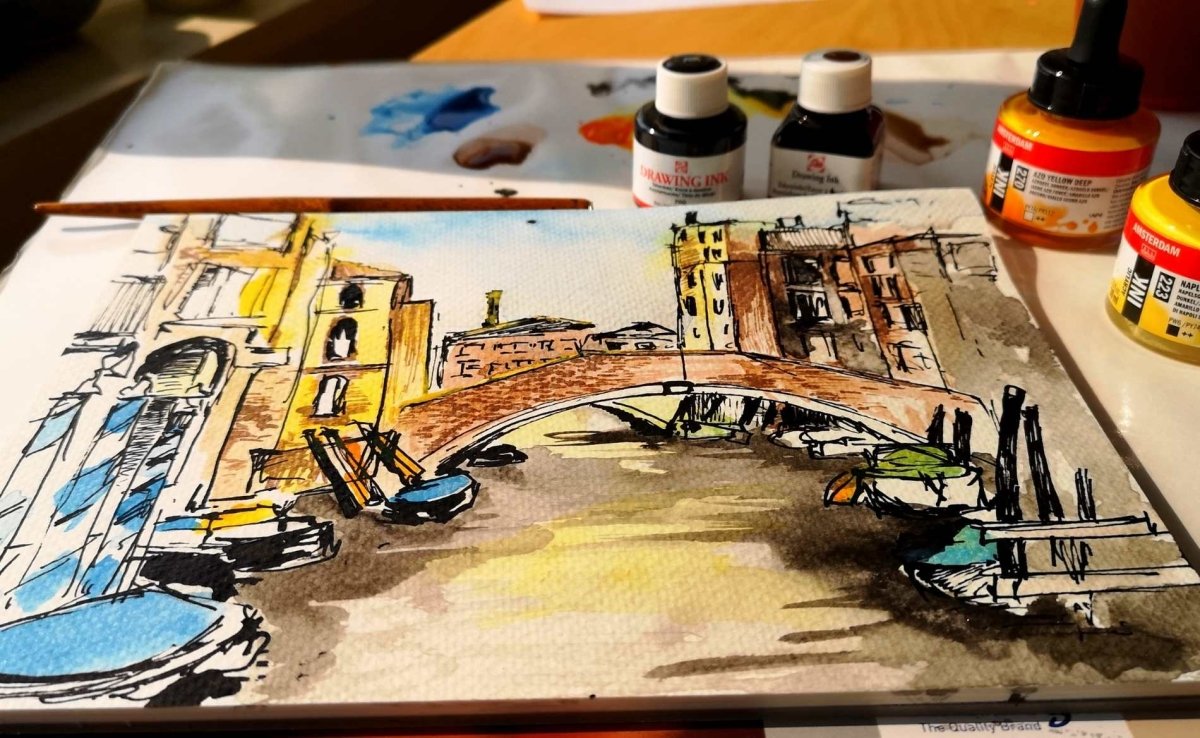
Instead of Talens Drawing ink you can also use Amsterdam Acrylic ink.

We start with a sketch of a street in Venice.

Step 1

We start with a sketch of a street in Venice, Italy, to experiment with the drawing ink, especially depicting the water of the canal.

Dilute some of the lines with water

Step 2

After roughly drawing the buildings, you dilute some of the lines with water to achieve a shadow effect on the water. You just use the ink as if it were watercolour.

In step 3 you can add some colour.

Step 3

In step 3 you can add some colour. You could use watercolours, but here we used Amsterdam acrylic ink. The advantage of the Amsterdam acrylic ink is that it is also water resistant after drying. When you like to work in many layers, the layers with acrylic ink and the layers with drawing ink will not dilute and will stay the same.

In the next steps you add more colour.

Step 4

In the next steps you add more colour and deepen the shadows near the boats on the canal. 

At the end you add more details.

Step 5

At the end you add more details on the bridge and the brick of the houses with the brown drawing ink. This colour is great for adding an ancient patina to the buildings.

Fancy more inspiring step-by-step plans?